Photo Booth Slideshow Viewer
WiFi Photo Booth Slideshow Viewer
My photo booth plays a slideshow of all photos taken. But the only location to view the photos are in the photo booth. So I made a remote Photo Booth Slideshow Viewer. This was actually quite a simple task. So this will be a short post.
Parts List
- 19″ monitor from my scrap pile
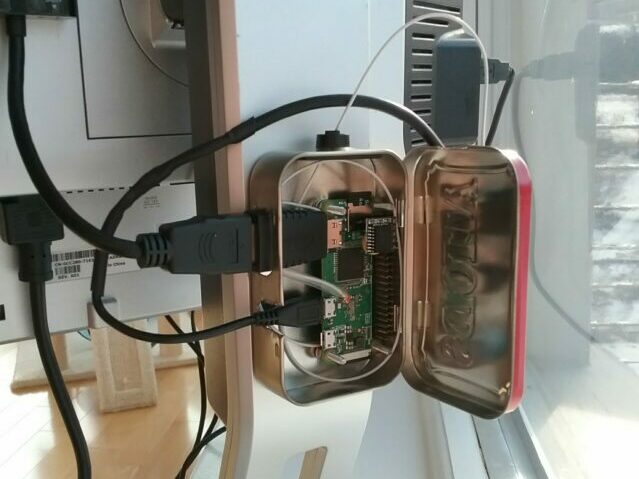
- Raspberry Pi Zero W
- microSD card at least 2 gigabytes
- HDMI to VGA adapter (optional)
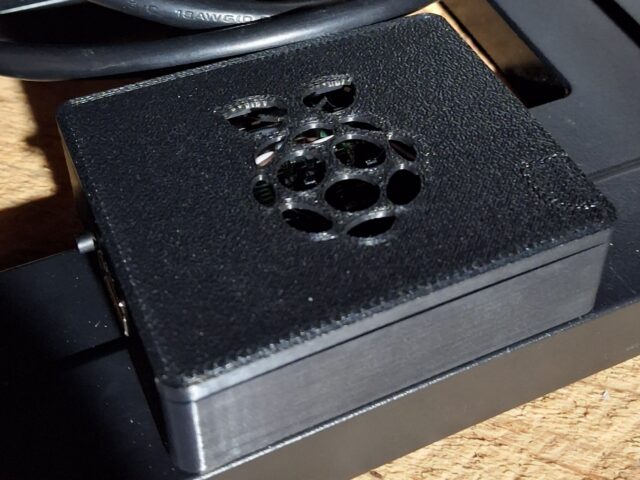
- Pi Zero case (something WiFi friendly)
- 5 volt power source for the Pi Zero W
- USB to micro-USB cord
- Mini-HDMI to HDMI cord
Software Needed
Building My Photo Booth Slideshow Viewer
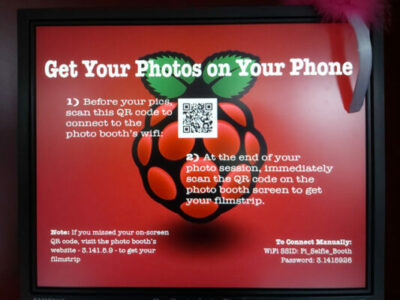
This build is mostly is mostly about setting up various software. First install the required software (samba and FBI). So the first thing is to setup a shared folder on your photo booth. There are many tutorials on this subject but I used this one at PiMyLifeUp. Because the photos on the WiFi Photo Booth are at /var/www/pics, use this as the path. Now install samba on the Slideshow Viewer. Then connect to the WiFi Photo Booth and mount the share. Now write a script (I called my script “slideshow.sh”) that will mount the shared folder and use FBI to display the images in the shared folder. Finally run the script and if all is well you’ll see the instructions page. Here’s my script if you need a place to start.
Run Your Script At Boot
If you’re happy with how your script displays the photos then use this section to run it at boot. First copy your script to the following location with this command:
sudo cp /home/pi/slideshow.sh /usr/bin/slideshow
Yes leave the “.sh” off it makes things easier.
The script needs to be executable so now run this command:
sudo chmod +x /usr/bin/slideshow
Now you will need to add a line to the file .bashrc. To add the line run the following command :
sudo nano .bashrc
Now scroll to the bottom of the file and add the following line
sudo /usr/bin/slideshow
Reboot your slideshow viewer and when fully booted you’ll see the instructions image.
Remember if you ever need to change the script you can edit the script using this command:
sudo nano /usr/bin/slideshow
Final Thoughts
This little project has been a great success. It shows people what’s going on in the photo booth and inspires them to strike a cool new pose. I hope you enjoyed this and if you have any questions feel free to leave a comment or contact me.
March 2026 Update
After optimizing the photobooth software I felt it was also time to update the remote slideshow. I was looking for something that was more polished and professional looking. I decided to go with Pi3D PictureFrame. Pi3D PictureFrame (PicFrame) will run on a Raspberry PI 2, 3, 4, or 5. Because I upgraded my photobooth from a PI3A+ to a PI4B I was left with a PI3A+. The PI3A+ is a small footprint single board computer with a 64bit quad core processor (1.4GHz), 512MB of ram, and dual band WiFi. I loaded Raspberry PI OS Lite (Trixie) and installed PicFrame.
Software setup
With the software installed I mounted a shared folder from the photobooth to the remote slideshow viewer. I then edited the PicFrame’s config file to use that shared folder. Since all the images in the shared folder are web sized, they should fly smoothly over WiFi to PicFrame (the new remote slideshow viewer). The photobooth allows party goers to upload images that will be played in the slideshow rotation. While testing I notice that the user uploads had a cool matte around the images. So, I changed PicFrame’s config file to add a cool matte to every photo in the slideshow. Note: if the photo is the same size as the monitor there’s no matte by default. The matte needs to be manually enabled for all photos.
Safe Shutdown
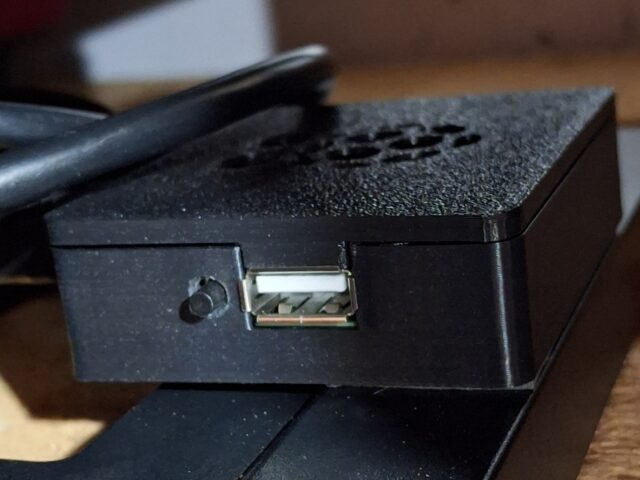
The old PI0W required a keyboard to exit Linux Frame Buffer for a safe shutdown or not so safe shutdown, yank the power. As most Raspberry Pi Users know pulling the power will sometimes leave the system with a corrupt microSD card and the system unbootable. To get a around this on the PI3A+ PicFrame remote slideshow viewer I added a power button that uses a hardware overlay. This method will safely shut the Pi down and if pressed after shutdown will restart the Pi. I simply added a button to physical GPIO pins 5 and 6 of the PI3A+. Then added this line of code (dtoverlay=gpio-shutdown) to the bottom of the config file (/boot/firmware/config.txt). So now with a short press of the button PicFrame performs a safe shutdown.
Final Thoughts
The upgrade from a PI0W to a PI3A+ allows for a more polished and professional looking slideshow. PicFrame does a really great job of presenting the photobooth images and party goer uploads with a professional look. PicFrame provides a smooth transition between photos and matte for every photo. I really couldn’t be happier with the results. Just a final note even with 400+ photos in the slideshow PicFrame remains buttery smooth event with the limited ram of a PI3A+.