Paradise Patio
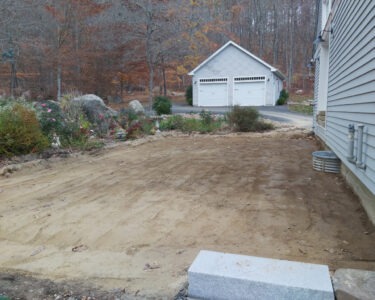
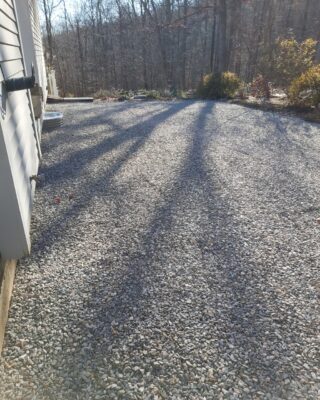
Made from scavenged fieldstones, our patio was far from a Paradise Patio. The stones were mostly flat but oddly shaped and created large gaps between the stones. The stones were not level to their neighbors, so the patio was difficult to walk across. The original plan was to pay a landscaper to install the patio but after installing a new driveway the cost of Paradise Patio was out of our budget. So, we decided to renovate the patio ourselves.
First, we decided on new doors and windows. To easily access Paradise Patio, the faulty old French doors needed to be replaced. Updating the windows to match the new doors was a must do, of course. You can read more about the doors and windows here. The next difficulty was the garden stairs. Also made from fieldstones the stairs were just as difficult to navigate as the patio (garden steps). Without much more planning than that we just started to remove anything and everything that we no longer wanted. The removal and Paradise Patio preps started in 2022.
Paradise Patio Construction Begins
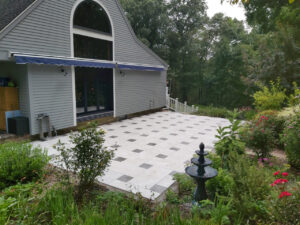
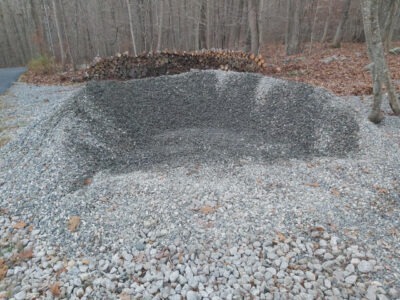
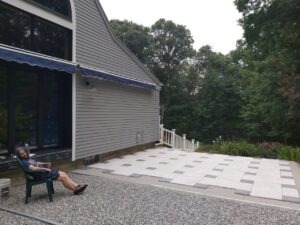
With a design we start laying out the patio area. Then removed all the soil and debris to the subsoil and levelled it. Then we used a plate compactor to compact the subsoil. Next, we laid down geotextile fabric. Then, we spread a 2″ layer of 3/4″ crushed stone and compacted that layer of stone. Then continued adding crushed stone in 2″ layers and compacting until we had 5.5″. This leaves room for a leveling layer of 1/4″ crushed stone and the pavers. With other projects and life in the way we lived with a crushed stone patio for two years. In this time, we picked the pavers for the patio, ordered new Paradise Patio doors and windows and installed the doors and windows. Finally, we order and installed awnings to cover the patio. Here’s a few pictures of the process.


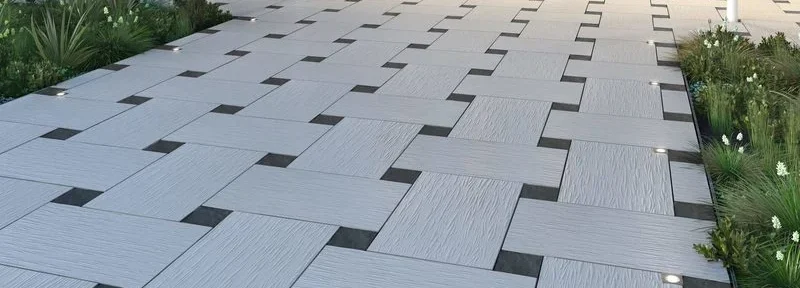
Now we had a crushed stone base compacted and leveled. But still no plan for a patio layout or design. Kristina found a basket weave pattern she liked, and I liked it too. This is the pattern she found in the Techo-Bloc catalog (Techo-Bloc website). I figured it wouldn’t be easy but would definitely be worth the effort.
Window Well or Not?
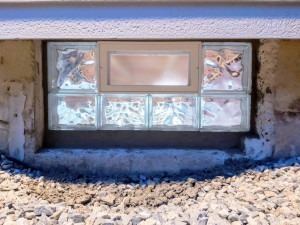
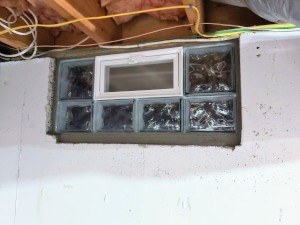
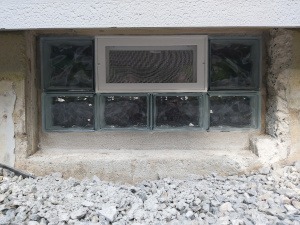
A window well can be seen in the patio area. We wanted to eliminate or hide the window well. Our original plan was to have a deck with stairs on three sides. The stairs on the side of the window well would cover it. Then we figured the maintenance of the window well would be difficult with stairs in the way. So, we decided to replace the window and remove the window well. Since the existing window was below the old patio it was rotten. After a lot of research, we decided to use a smaller window and raise it up a few inches to be higher than Paradise Patio. After a lot more research and YouTube videos on how to install a glass block window, we bought a window and just went for it. Below are a few pictures of the new glass block window.
Paradise Patio Pavers
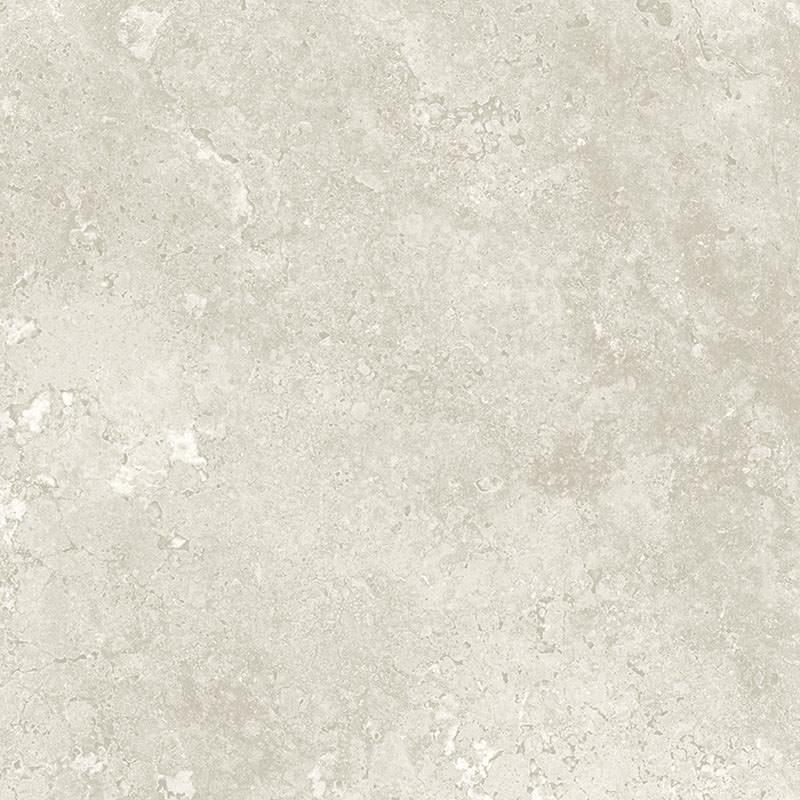
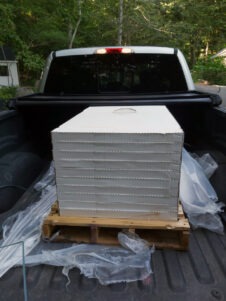
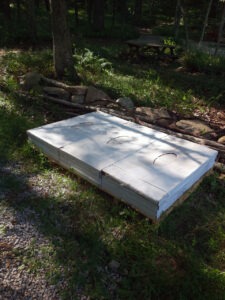
We wanted a paver that could withstand New England winters, was stain resistant, and could hold up to ice melt. We decided to use Kronos pavers again. Kronos, an Italian porcelain paver made in the USA. To build the basket weave pattern, we chose Kronos, Icon Travertine Collection, Cross Cut Tivoli’s Avorio paver for the main paver. Then we chose Kronos, Stone collection, Moonstone for the void spaces. We ordered the pavers from Getty Granite. These pavers required 6-8 weeks delivery time. It took about 5 weeks to take delivery. The pavers total weight is 6,576 pounds. Using my truck and a trailer, it took two trips, but we had all the pavers. The images below are 3,300 pounds of 2’x4′ pavers. The next day we picked up the rest of the pavers and sorry no pictures of the 2nd trip.
Paradise Patio Leveling layer
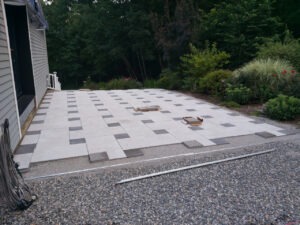
With all the pavers here, we used two 1″ diameter pipes about 6 feet apart to pour and level the 1/4″ stone. We checked the pipes were parallel, level to each other, and pitched away from the house. We were so excited to get the patio laid we didn’t get any pictures of the leveling layer process. Here’s a few shots of the patio after the first day.
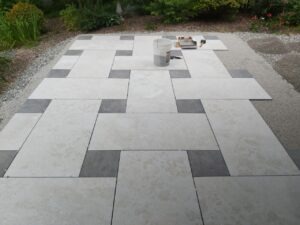
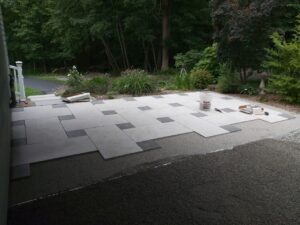
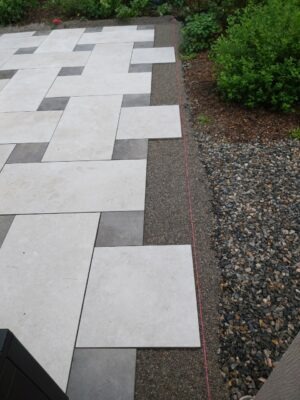
Every section we prepped with 1/4″ crushed stone will fit two complete courses of pavers. After the first weekend we had laid 30 of the 2’x4′ pavers and only 36 left to set. Nearly halfway complete the basket weave pattern was becoming clearer. Not bad for working a few hours per day during our 4th heatwave of the season.
Paradise Patio So Close
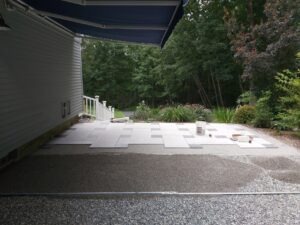
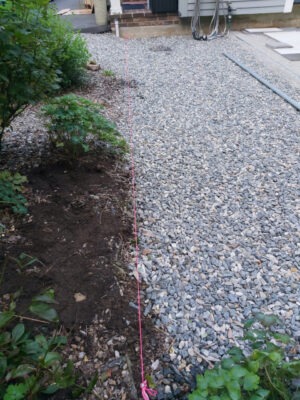
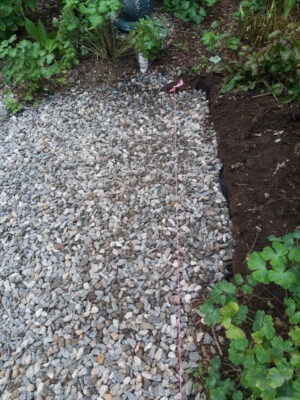
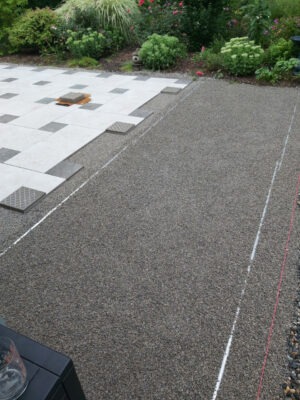
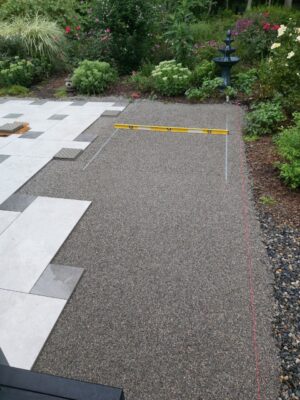
Small errors add up. We measured and prepped Paradise Patio to be 19’x35′ (665 sqft). As we completed each course, we measured to ensure it was square and the correct dimensions. Everything was going well until we reached the last 2.5 courses. We measured two complete courses at 70-9/16″ plus the perimeter course adds 12″. This means the crushed stone base needs to be at least 82-9/16″. Then we measured 83″ from the patio at the house end and placed a stake. And repeated this at the garden end of the patio. Finally tied a string line between the stakes. The string line shows our original prepped base was off by about 3″. So, we dug down about 5″ and back along the string line. The rocks we encountered made the area slightly larger than needed. When the area was dug out, we added geotextile, 3/4″ crushed stone, and compacted.
Paradise Patio Completion
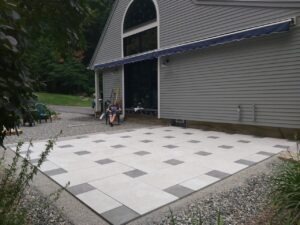
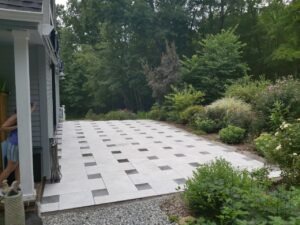
Working between bursts of rain we laid the last 12 full tiles to complete the last two full courses. The last half course will be all Avorio pavers. To complete the patio, the last 1/2 course needed three pavers 2’x2′, three pavers 1’x4′ and one paver 1’x1′. Since the Kronos product catalog didn’t show pavers 1’x4′ we had to cut 2’x4′ pavers to size. We would also need one paver at 1’x1′. Instead of buying a box of five 1’x1′ Avorio pavers we opted to cut an extra 1’x2′ paver to size.
We used a circular saw with a diamond blade and a trickle of water to cut the pavers. It worked quite well (sorry no pictures). Two tips to prevent the corners at the cut line from breaking off while cutting. First tip, ensure the paver is completely supported. If the paver can be rocked in any direction as you reach the end of the cut the weight of the paver will break to paver or at least the corner. Second tip, score the top of the paver with a shallow cut (about 1/4″). Then cut the rest of the way through. Both methods prevent the corners from breaking off while cutting but a fully supported paver seems to work best.
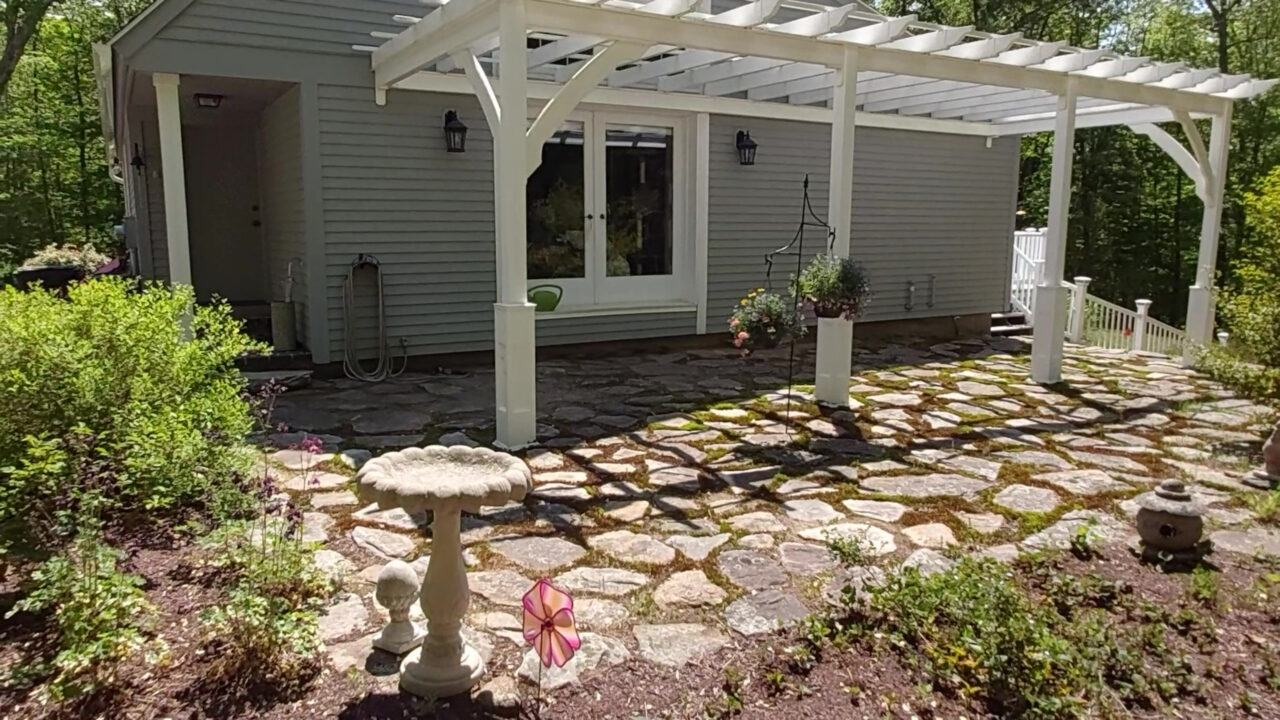
Finishing Touches
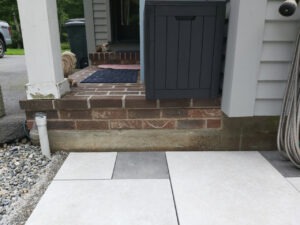
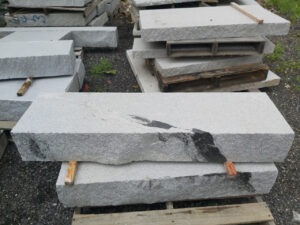
After 2 years, we have nearly finished our Paradise Patio. For the finishing touches we’ll add paver edging, polymeric sand and a step. The step from the stoop to the patio is a 14″ (that’s much too big). A step this size is hard to navigate, so we made a trip to a favorite stone supplier (Getty Granite). At Getty Granite we bought a salt and pepper step. The granite step is 7″ high by 13″ deep by 48″ long. The step we bought had a thick black vein on the face of the step. Getty Granite sold us this step as “off stock” (not an even salt and pepper color) because of a thick black vein on the face. The finishing touches will be as follows: First install the paver edging, then add the polymeric sand to the spaces between pavers, and finally set the step.
2 comments to “Paradise Patio”
Duncan - August 10, 2024
Hi Paul,
I love the website and being able to see everything you and your family have done together!
The patio came out beautiful and the step looks like a perfect match (Kristina the Kompactor has a good eye).
Paradise doesn’t seem so far away!
Thank you for being such an amazing customer,
Duncan Brown
Sales Associate
Getty Granite
Paul - August 10, 2024
Duncan and the Getty Granite Staff,
Thanks for the help selecting the products for our hardscapes. I’m not a landscaper but the Garden steps are two years old and holding up nicely. We used the same techniques on the patio, so we expect it to look great for years to come. Again, thanks for help and support in these projects.
Thanks,
Paul & Kristina