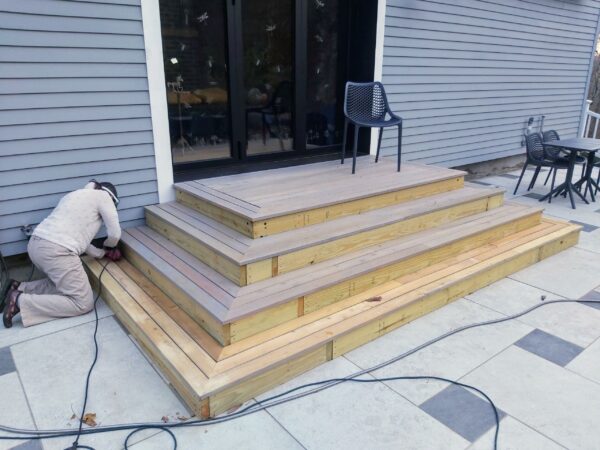
Patio Stage and Cascading Stairs
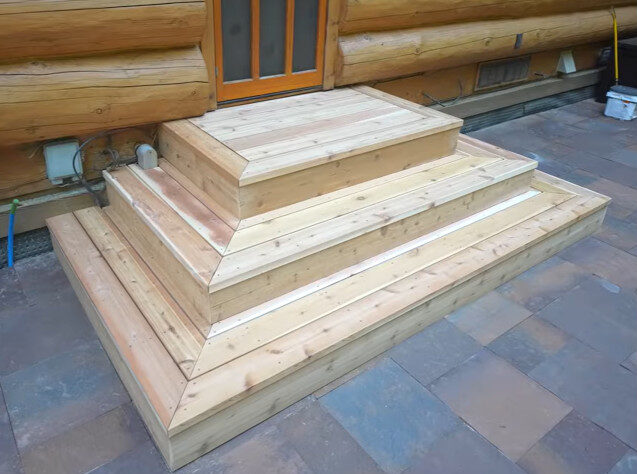
This is the process of building our patio stage and cascading stairs. Our house never had a means of exiting to the patio. So, after updating the patio we wanted a cool and multifunctional exit from the house to the patio. After many hours of searching, we found pyramid stairs. We decided the deck needed to be large enough to double as a karaoke stage. Also, the stairs would be on three sides and will double as additional seating. Here’s an image of the stairs that inspired us.
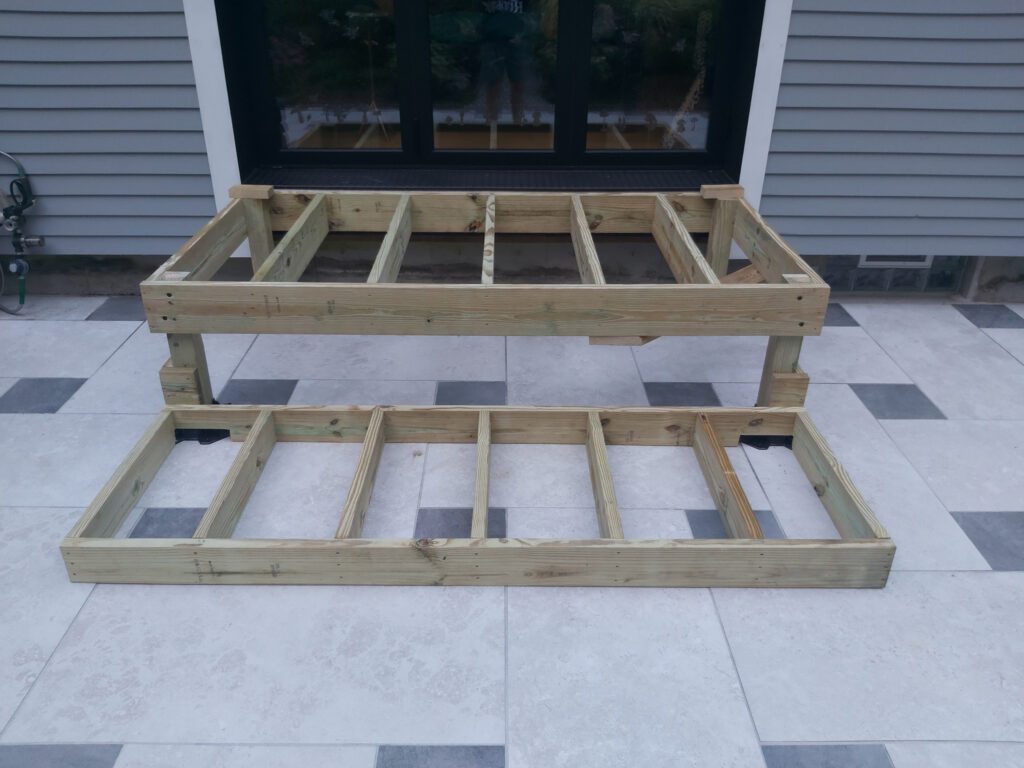
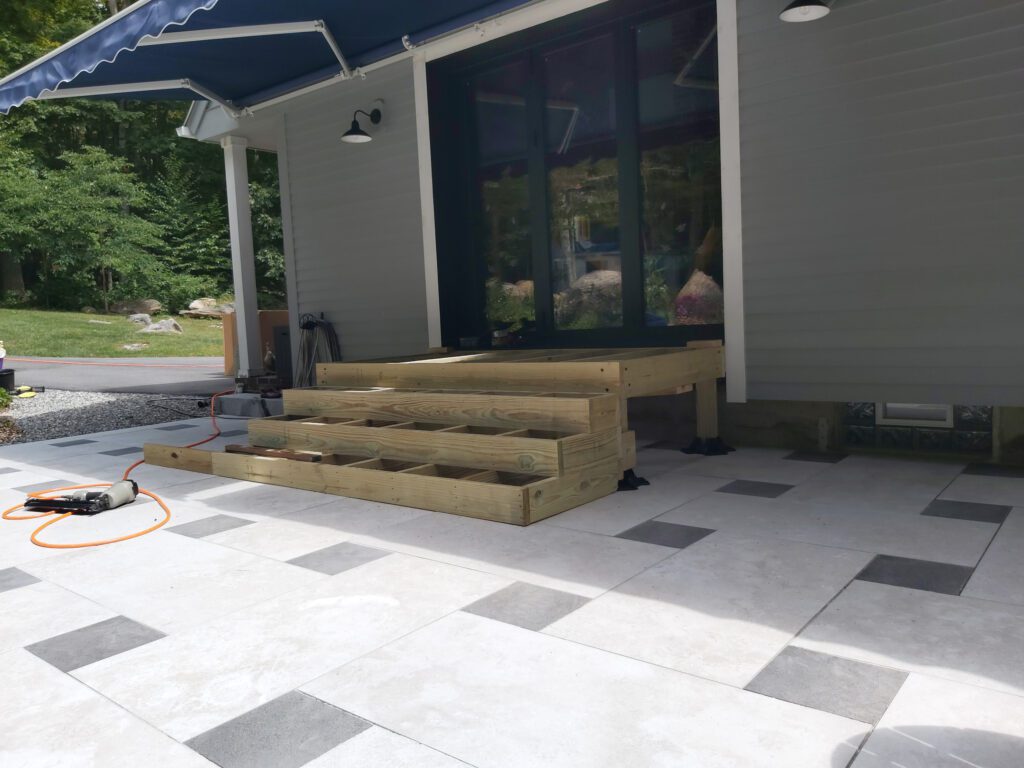
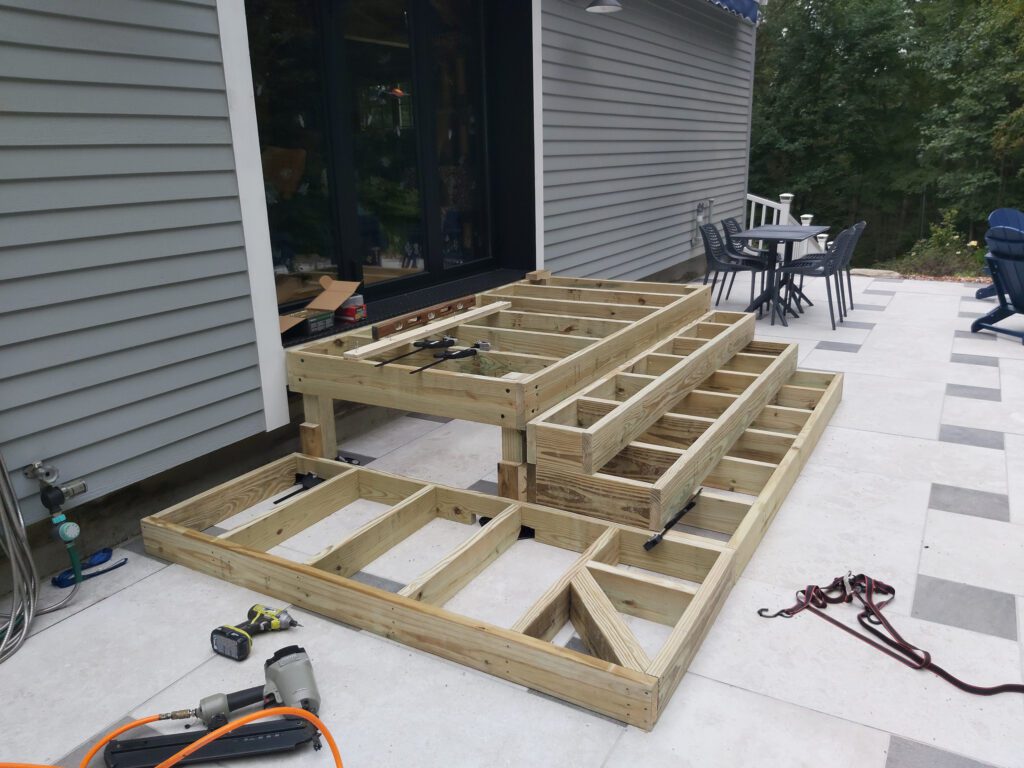
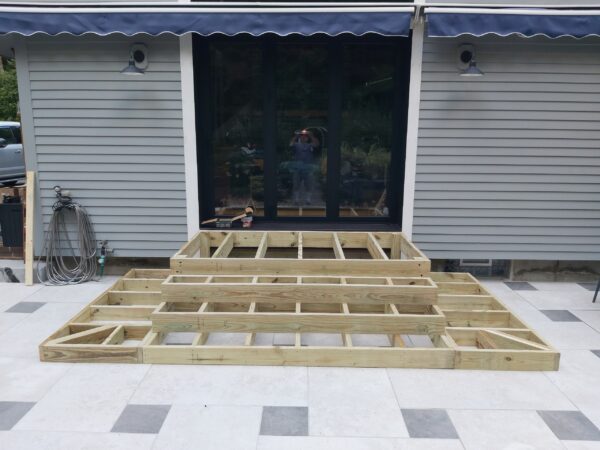
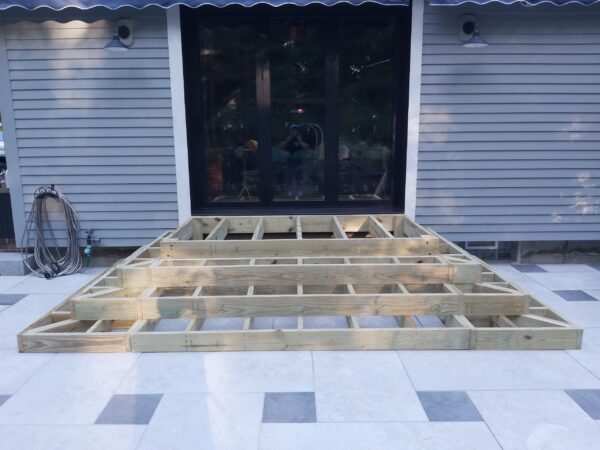
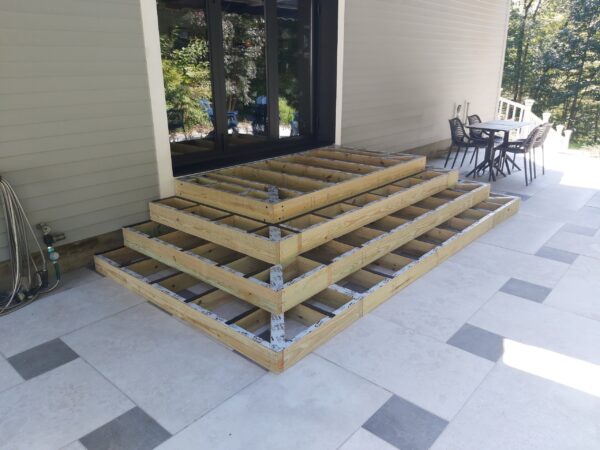
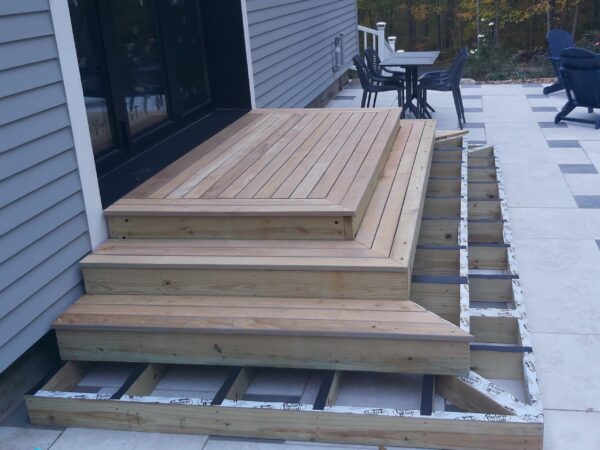
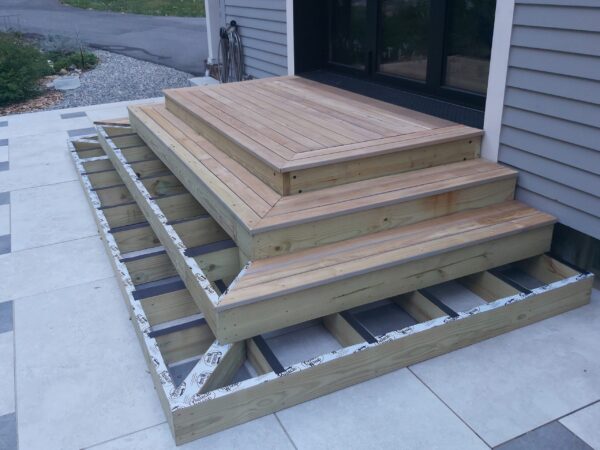
Our patio door is 25.5″ above the ground, we added one more step. Since we wanted the deck to be large enough for a karaoke stage we made the top of the stage four feet by eight feet. I decided to use box stringers for two reasons. The first because, I’m not a carpenter and the stage is freestanding. I figured the box stringers would give the stage better stability and would easier to build. But box stringers will require additional framing material. Here’s a few shots of the framing for our patio stage and cascading stairs.
Patio Stage and Cascading Stairs, Framing Complete
Now that the framing was finished, we applied joist tape to protect the framing from water damage. Also we used ground contact rated pressure treated lumber for all the framing. We repurposed some leftover door and window flashing tape. Then we switched to using joist tape when we ran out of door and window flashing tape. Joist tape not only protects the framing it also seals to the fasteners to prevent rot from developing inside the joists.
Decking Material
Selecting our decking material. We narrowed our options to ipe (or other Brazilian hardwood), composite decking or black locust (North American hardwood). We wanted real wood because composite decking cannot be recycled again and will end up in a land fill. After tons of research, we decided to use black locust. However, black locust is a North American hardwood that has rot and insect resistance similar to ipe. Because black Locust is a fast-growing tree that reaches maturity in about 30 years it is a sustainable wood product. We chose to buy our decking from Robi Decking. The Robi Decking website has a deck material calculator. Using the calculator we ordered 5/4″ x 4″ square edge deck boards. Then placed the order and a few days later we received the decking.
Hidden Fasteners
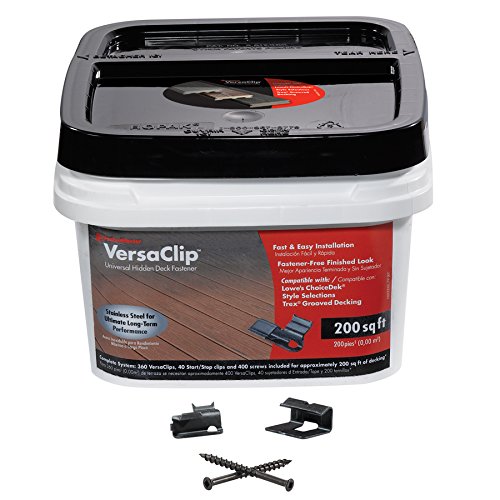
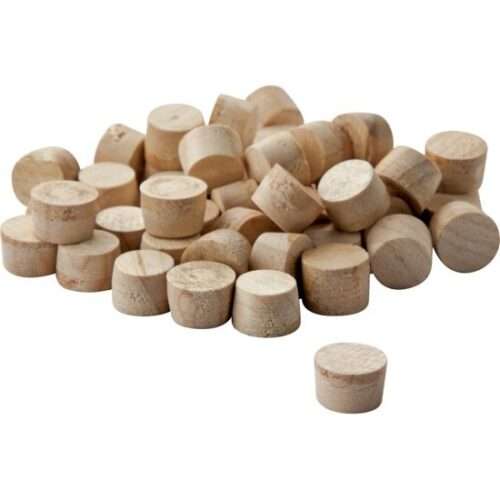
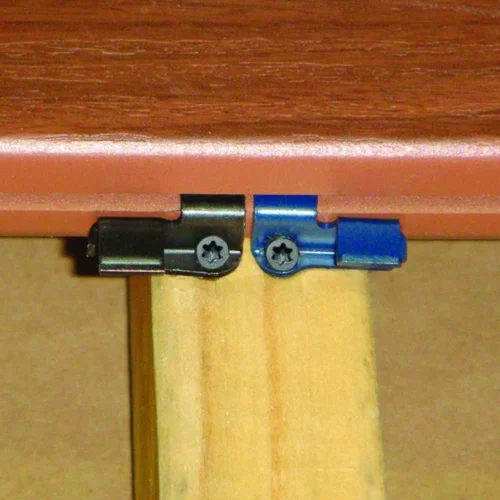
We decided to use hidden fasteners to secure the deck boards. Walking through home depot we found versa clip hidden fasteners by Fasten Master. There was a 200 square foot kit in a bucket. The bucket contains stainless steel start/stop clips, deck clips, screws, and torx driver tips. Because we are using hidden fasteners on the stairs too we needed more start stop clips to complete the project. Also the last board of the deck and each step is face screwed with wood plugs. So we also purchased 3/8″ black locust wood plugs. This creates a completely smooth look with no visible fasteners. Black Locust doesn’t come in all long lengths, so we purchased butt seam clips too. The butt seam clip allows using the joists as is with no extra framing. Here’s a few pictures of the fasteners we used to secure the boards to the framing.
Laying the Patio Stage and Cascading Stairs
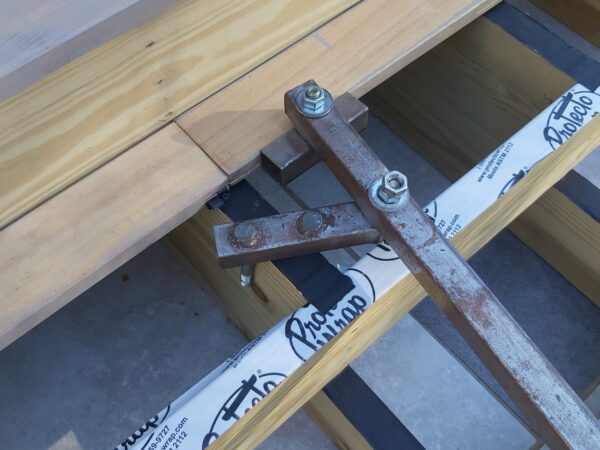
Black Locust is a fast growing hardwood and can have interesting grain patterns. However, this can cause bent boards. Although a few of our deck boards were bent and did required straightening. For straightening the boards I used a homemade bow wrench. I made my bow wrench in 2009. This tool holds the decking straight and tight to the spacers until fastened. Without a tool like this it can be hard to keep the boards straight and tight until screwed down. The tool can be reversed so it can push or pull the boards straight. In fact I have loaned the tool to friends building decks and they really like how fast it worked to straighten bent boards. I made mine for about 15 bucks but, nicer ones can be bought at places like Home Depot or Amazon. Here’s a few pictures.
Stain The Decking
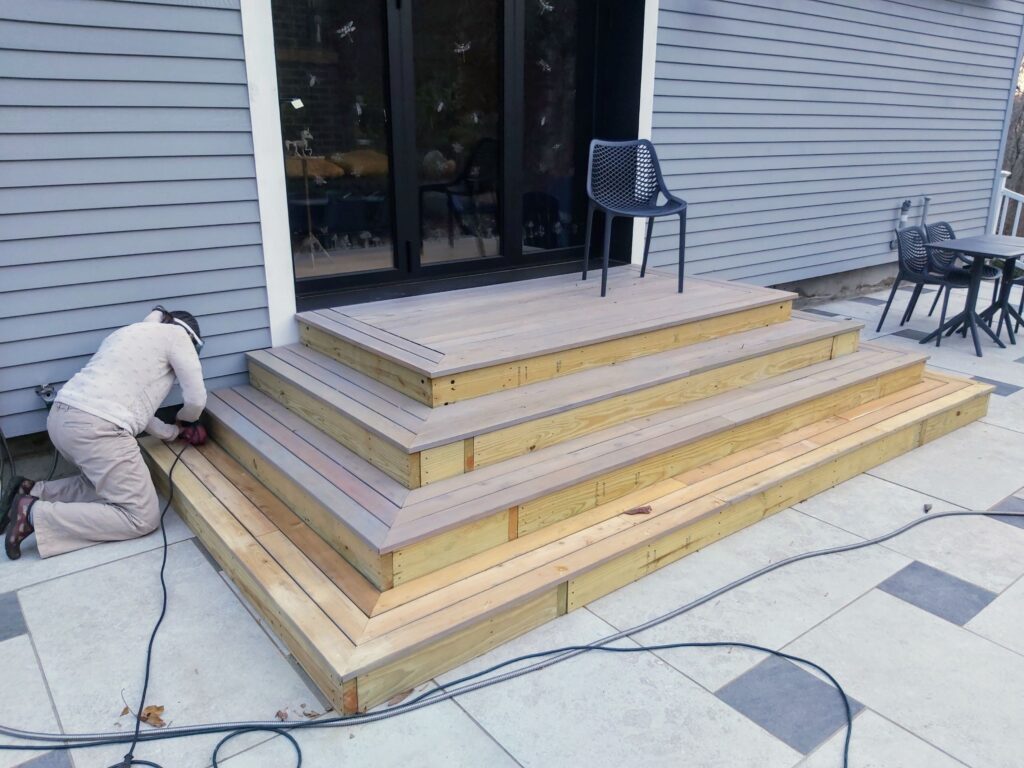
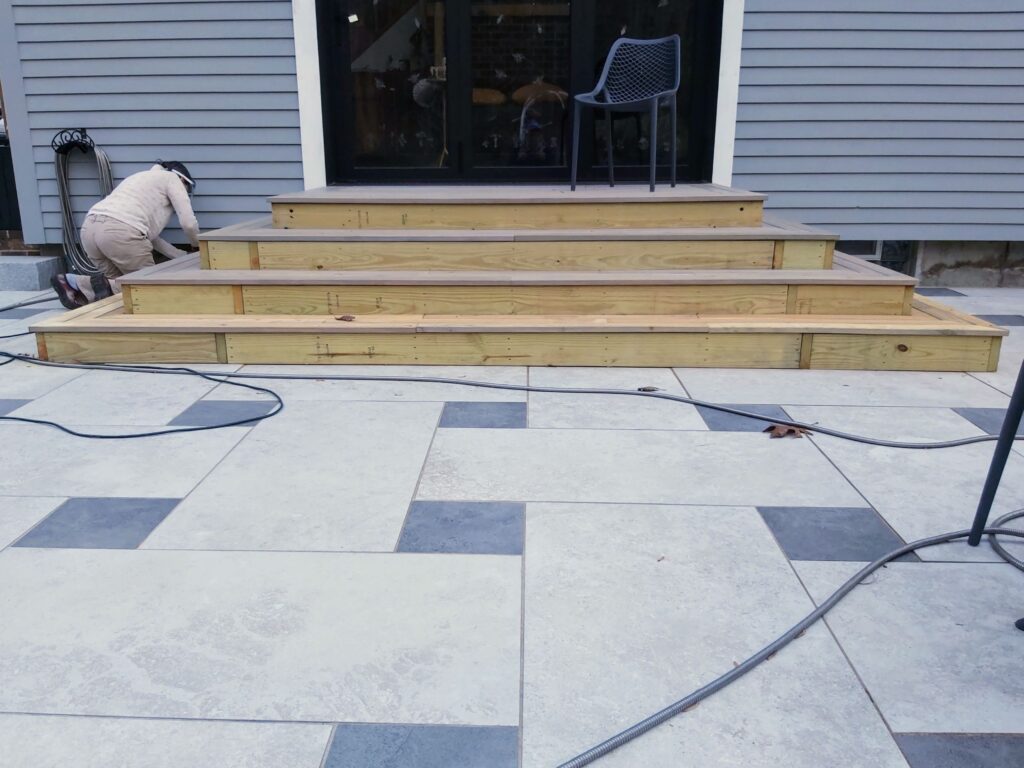
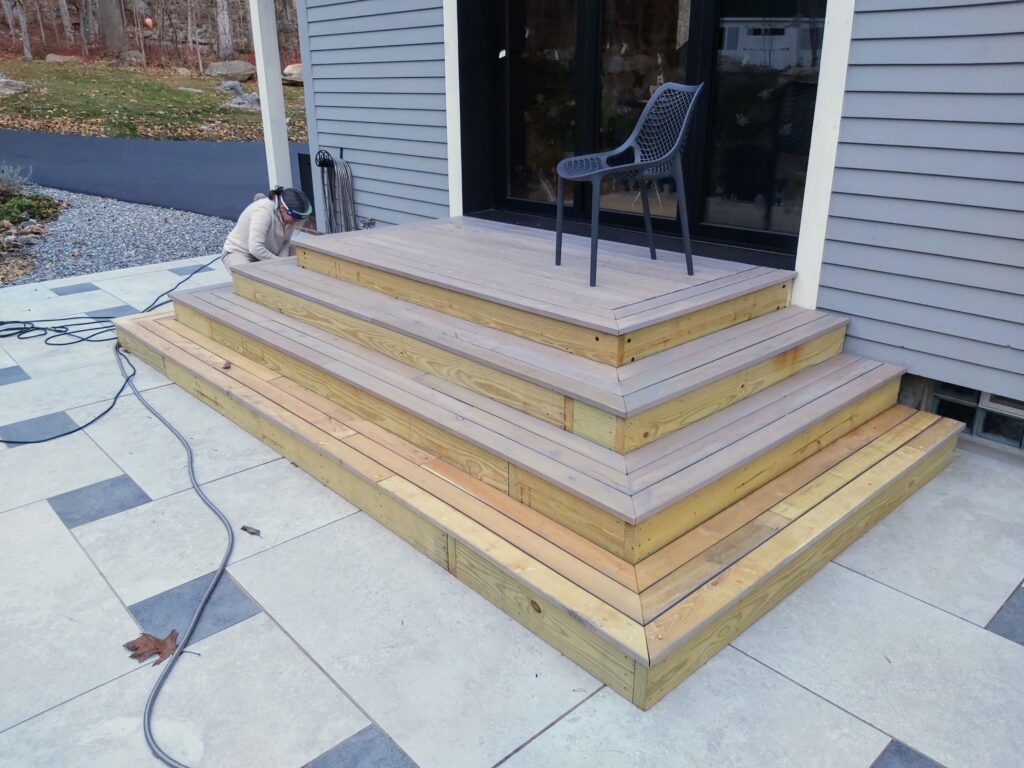
Although stain is optional for Black Locust we decided that we would stain our deck. Kristina’s design eye wanted a weathered grey look. Robi Decking sells a few oils and stains that are compatible with Black Locust. We chose Robi Patina Now Stain. Robi Patina Now gives the decking a protective coating and the silvery grey Kristina was looking for. So, we cleaned, lightly sanded, and stained the bottom and edges of every board before fastening the board down. After the boards were cut to fit we sealed the cut ends with Robi End Seal. Sealing the ends prevents checking of the end grain. Once the boards were installed, we cleaned, lightly sanded, and stained the tops of every board. Currently the deck is complete except for staining the last step. Kristina is currently sanding the last step and prepping for Robi Patina Now stain.
Finishing Touches
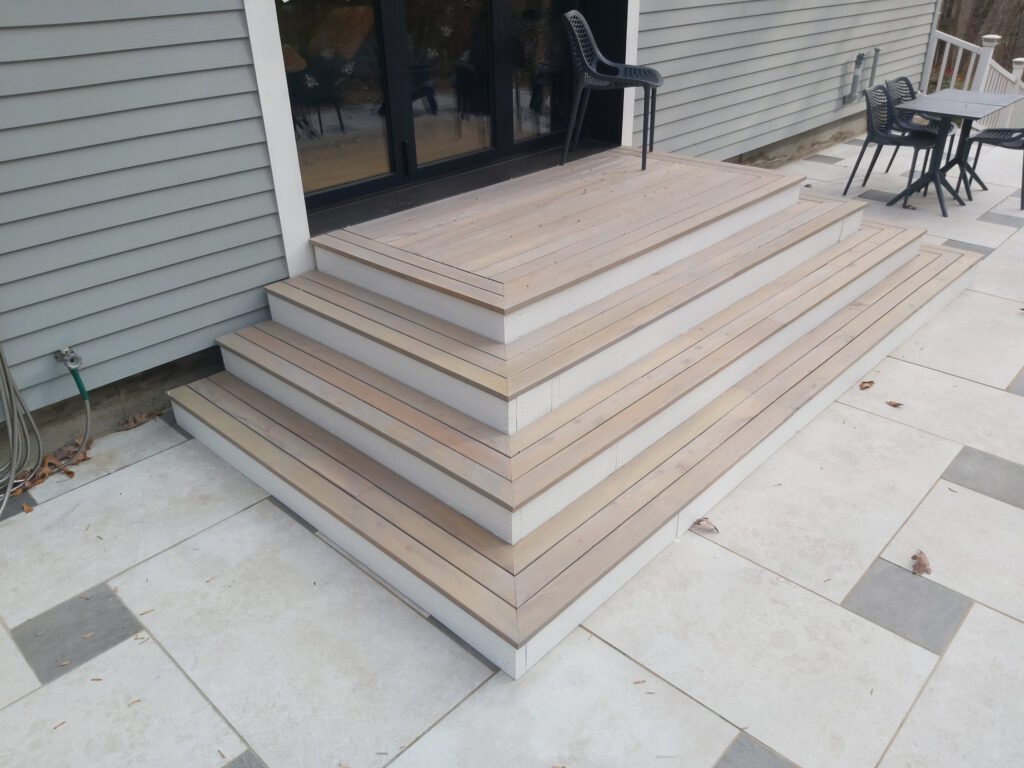
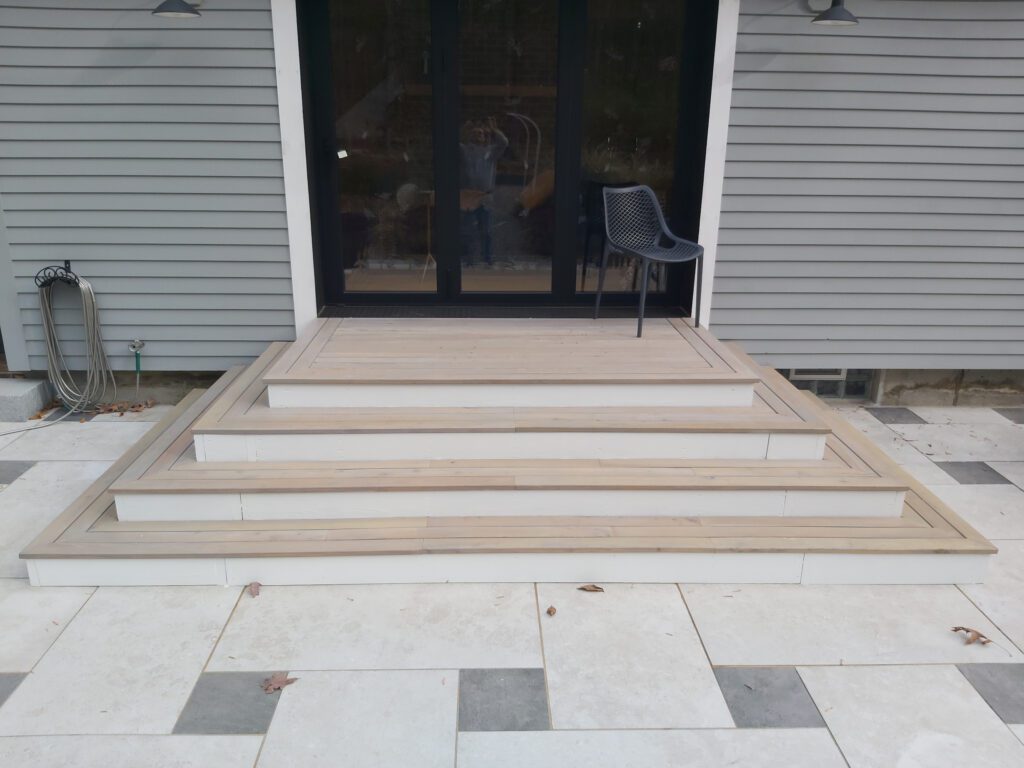
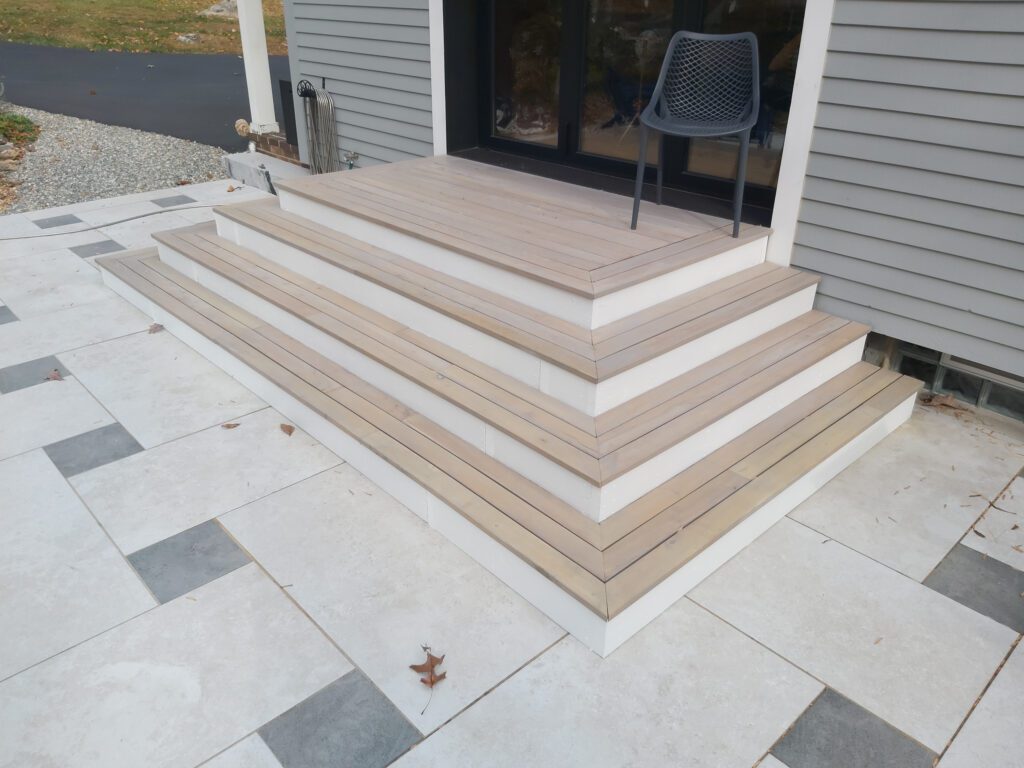
With the Patio Stage and Cascading Stairs built and stained there’s only one thing left. Well two things. One, stain the risers white. And two, enjoy it all with friends and family. I’m sure there will be many parties with Karaoke of course, so I bet the stage and patio will be well used. Many thanks to Kristina for researching eco friendly decking material, designing the Patio and Patio Stage with Cascading Stairs. I definitely couldn’t have thought of this all on my own. I’m not nearly creative enough. View the finished product below.

Has one comment to “Patio Stage and Cascading Stairs”
Kristina - November 8, 2024
All that heavy-duty designing, sanding, grinding, staining, and painting gave me a sense of accomplishment. I couldn’t have done it without your advanced skills, Paulinator, not even with a scientific calculator of my own. Looking forward to more home projects we can rule together.