How my website started
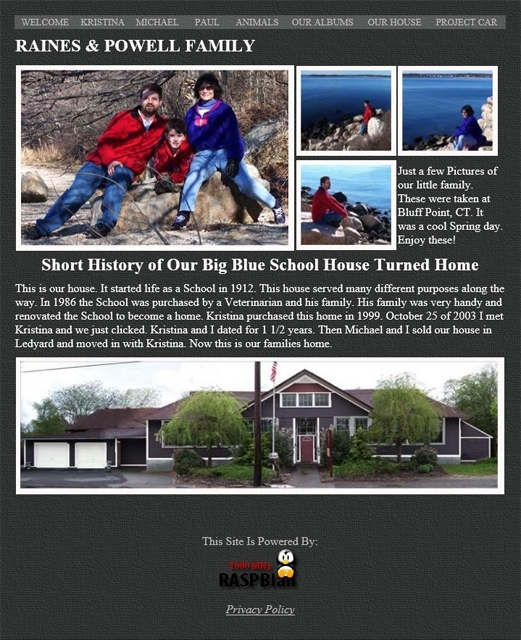
For valentine’s day 2006 my wife bought me a URL (paulrainesjr.com). This is how my website got started. I was not sure what to do with the URL so I started learning HTML. Thanks to a friend at work, after a 30 minute how to write HTML my first page was built. From there I had a whole website (see the screen shot below). This is how my website started.
Self hosting server
With a website built and ready to share, where do I put it? Because I’m a bit of an electronics nerd I decided to self-host. I originally used a Linux based network device that I converted to a web server. My original web server was a NSLU2. The NSLU2 was a network appliance that allowed two USB hard drives to be shared on your private network. After loading some custom firmware provided by the NSLU2 community. Sorry but looks like the community is changing servers as the link is only a “Welcome to nginx!” page. Their page has not been updated since 2009 so the link to it has been removed.
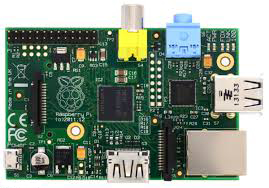
I should note that over the years I did server upgrades. At one point I was using an original Raspberry Pi. But since the release of the Raspberry Pi 4, I now use a Raspberry Pi 4 with 4GB RAM.
Changing HTML to CMS
Since my server was now more powerful I was able to switch from static pages to dynamically built pages. Plus using a content management system (CMS) allows me to update and add pages more often. I ended up using WordPress as my CMS. I like the ease of use and wide range of plugins that are available. It was time for an update. Other than adding a photo gallery from time to time my old site wasn’t updated since it went live in 2006.
My site with WordPress as a self hosted install now has a new look and is much easier to use. Because times have changed, about 53% of people use there phones to view the web. Using WordPress helps makes my website mobile friendly.
Also to keep up with the times I added a SSL certificate to my site using LetsEncrypt. Many browsers are now issuing a warning if a site is not secure. Here’s a quote from an article at NameCheap.com “Chrome, Firefox and other browsers have began issuing warnings that non-https sites are insecure. Additionally, Google recently announced SSL is a ranking signal, so unless you have SSL your site will be harder to find, impacting on your traffic and revenue.” Although this site doesn’t make me money, I still wanted family, friends, and others to easily find my site and not be afraid to enter.
2026 Upgraded and Fresh Install
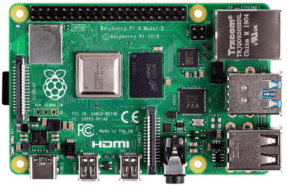
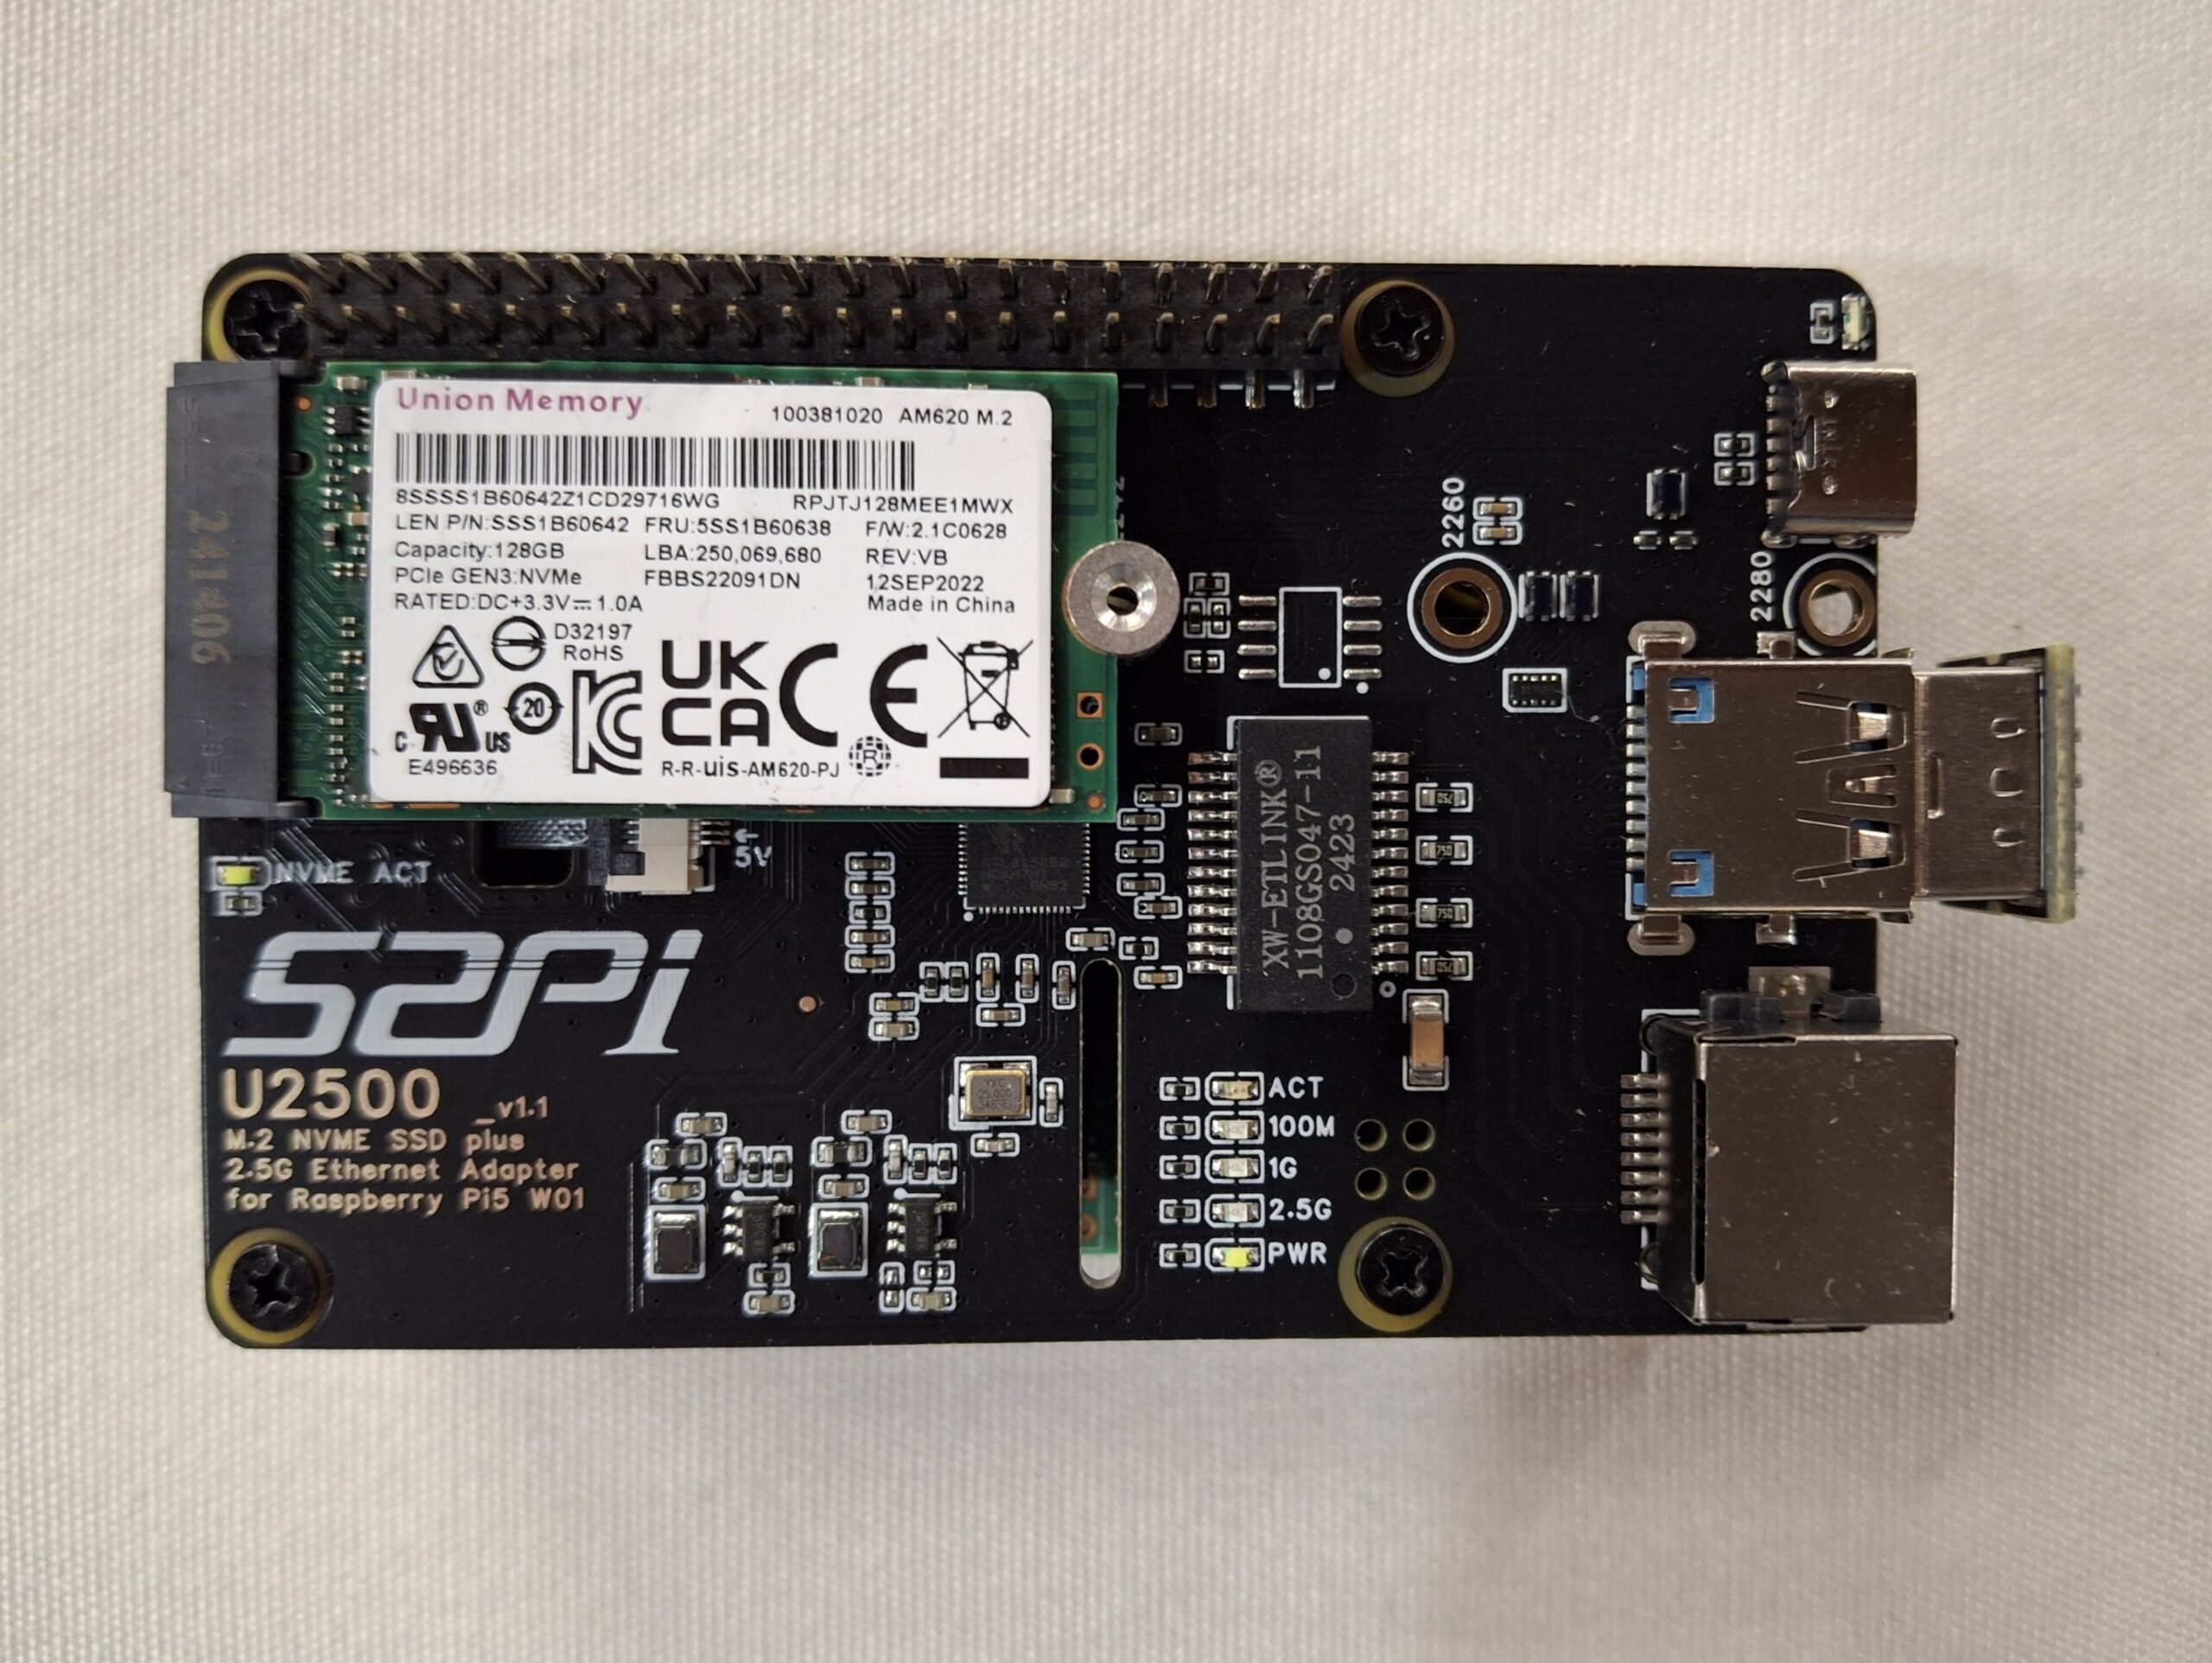
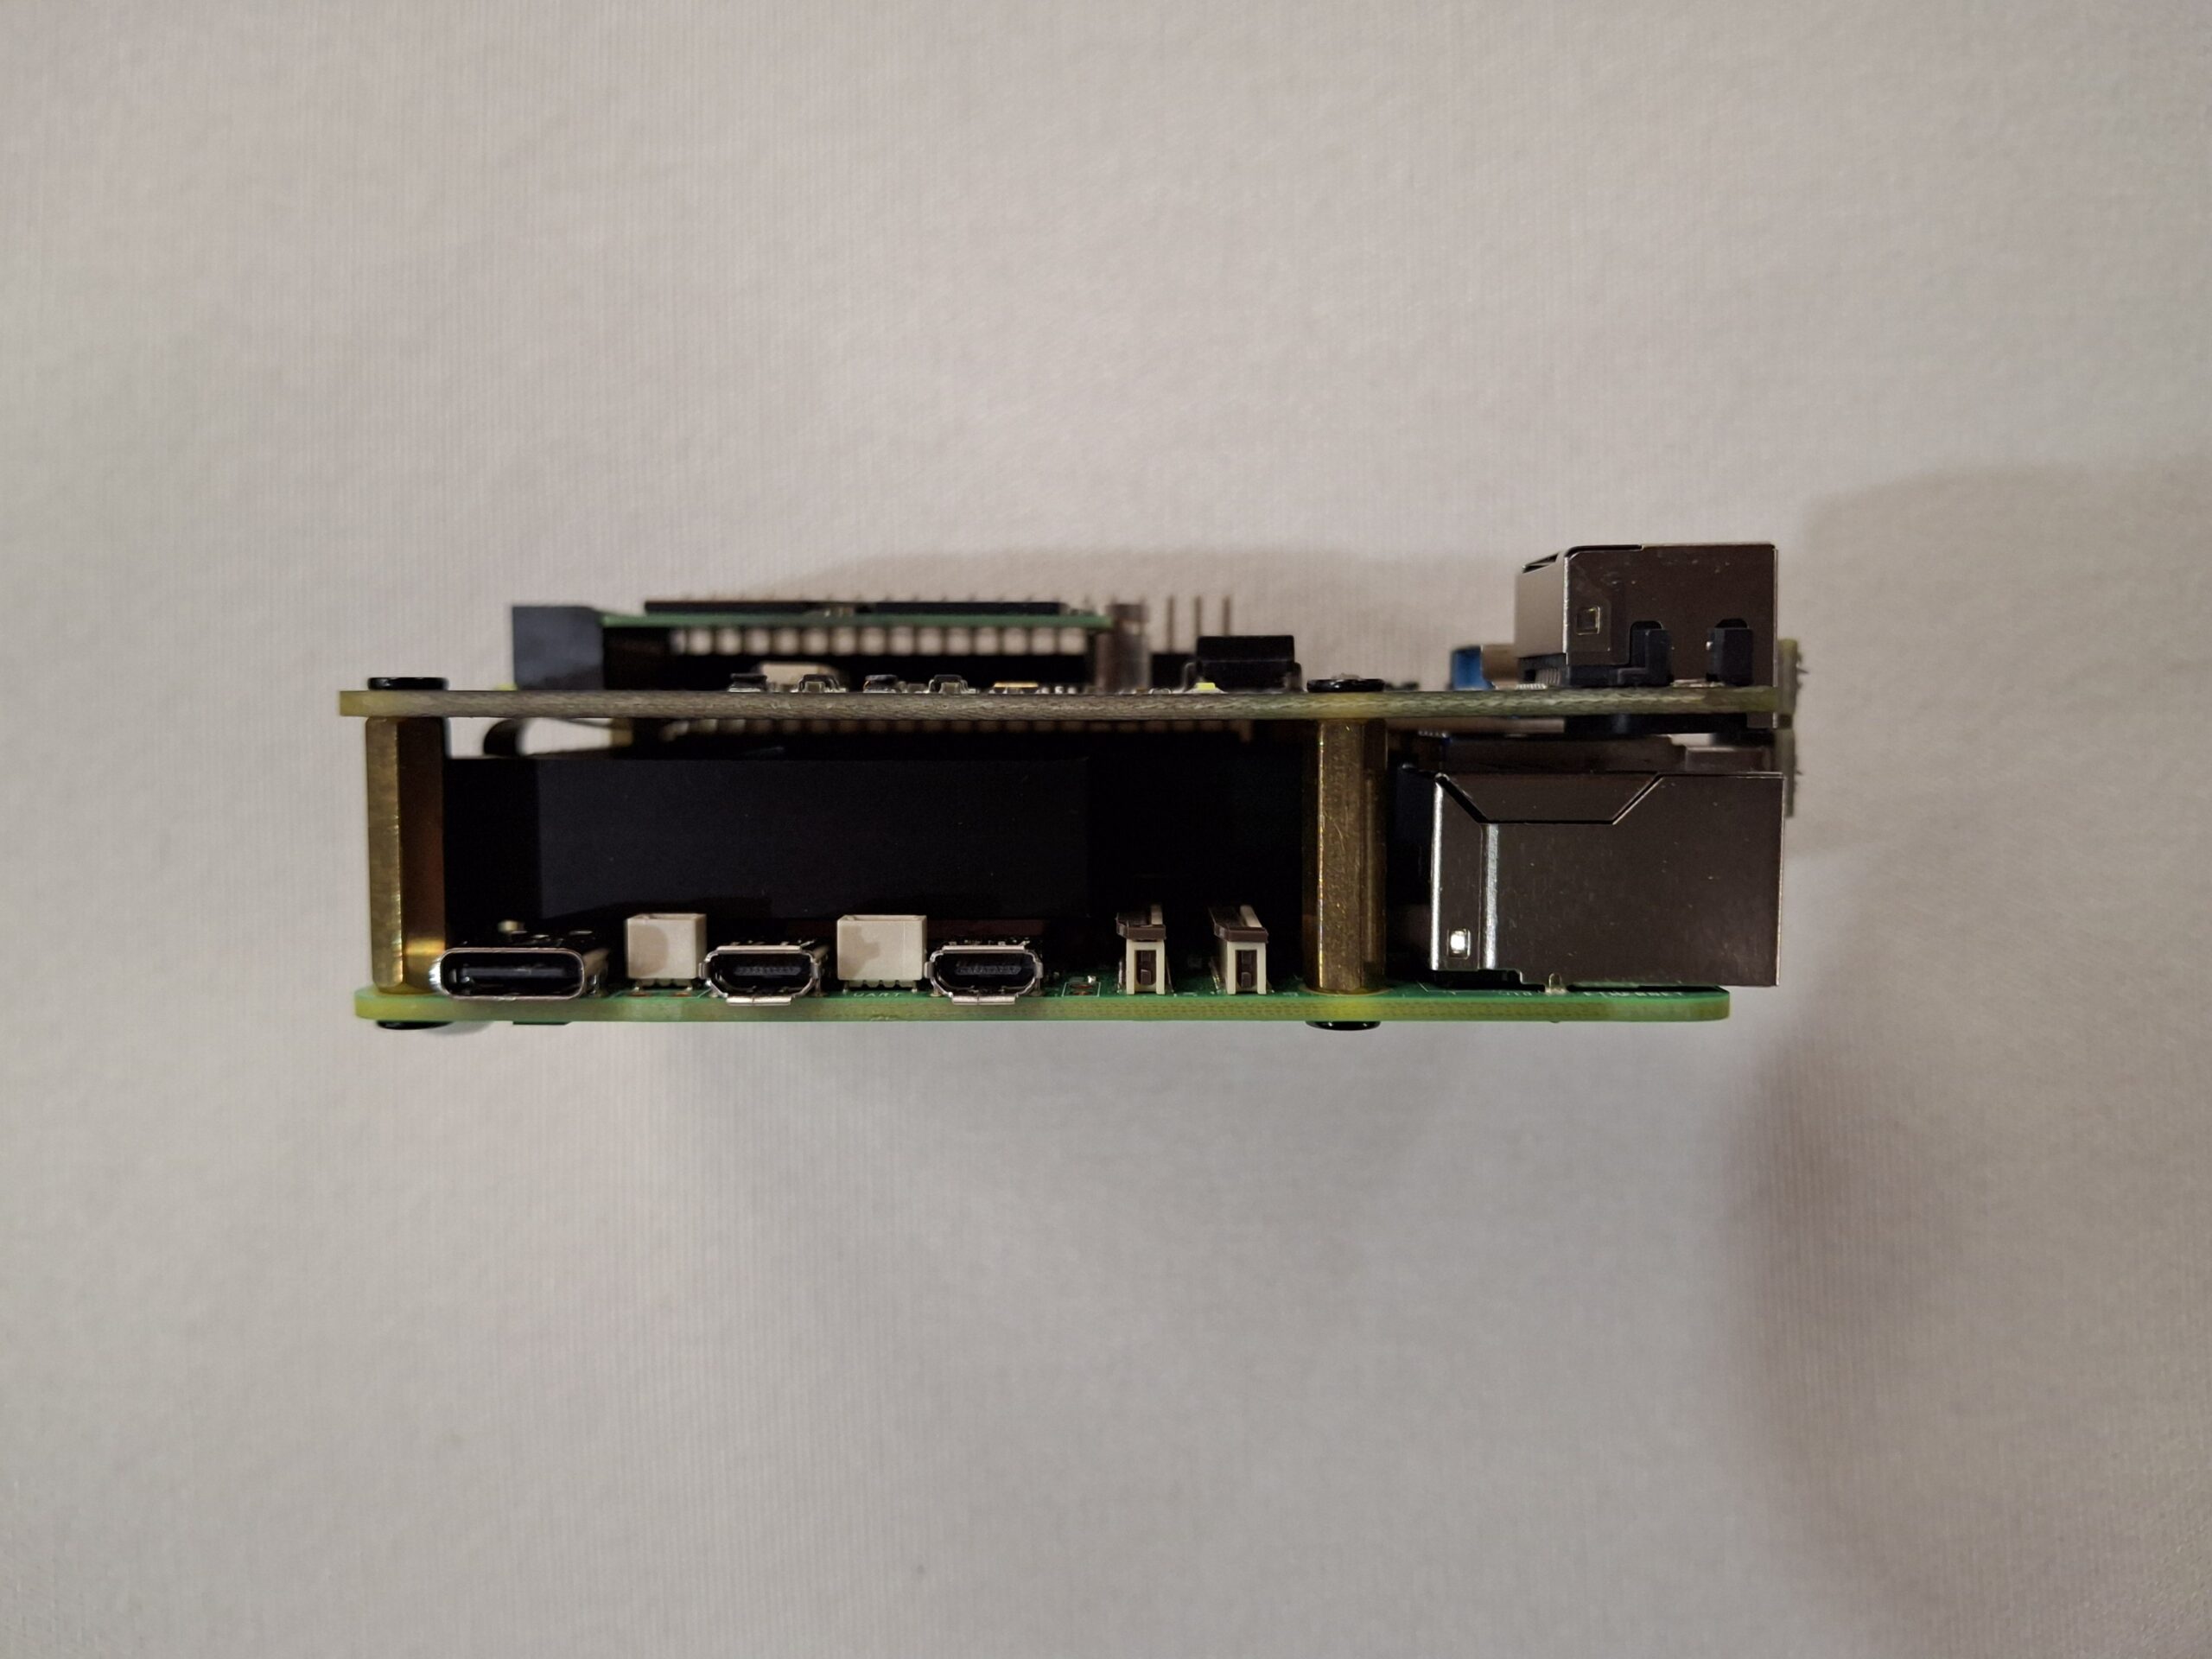
I recently upgraded to a Raspberry Pi 5 with 16G of ram. The new server stack uses a 52pi U2500 NVMe hat. This hat has an NVMe slot that will accept up to 2280 NVMe drives. I am using a 128GB NVMe for the OS and data storage. The old server was a mixed 32/64 bit system. It had a 64bit kernel and 32bit userland. I decided the best thing was to perform a fresh install of Raspberry Pi OS Lite (Trixie). My old server worked well, therefore I decided to keep the same LAMP stack.
After installing the OS, Apache, MariaDB, PHP8.4-FPM, Redis and WordPress I moved on to transferring the SSL. Next, I created a tar ball of the SSL on the old server and transferred the SSL to the new server. Because extracting the SSL broke the symlinks i recreated them. Then fixed permissions and ownership after extracting the SSL. Now that permissions and ownership are fixed I performed a certbot renwal dry-run. Because the SSL renewal dry run passed, I performed a secure setup of WordPress and installed Updraft. Then I created a fresh backup of my website on the old server. Finally, I used Updraft on the new server and restored to the backup I just created. Now my website looks the same as before but completely in a 64bit environment.
Tuning Fun and Gallery
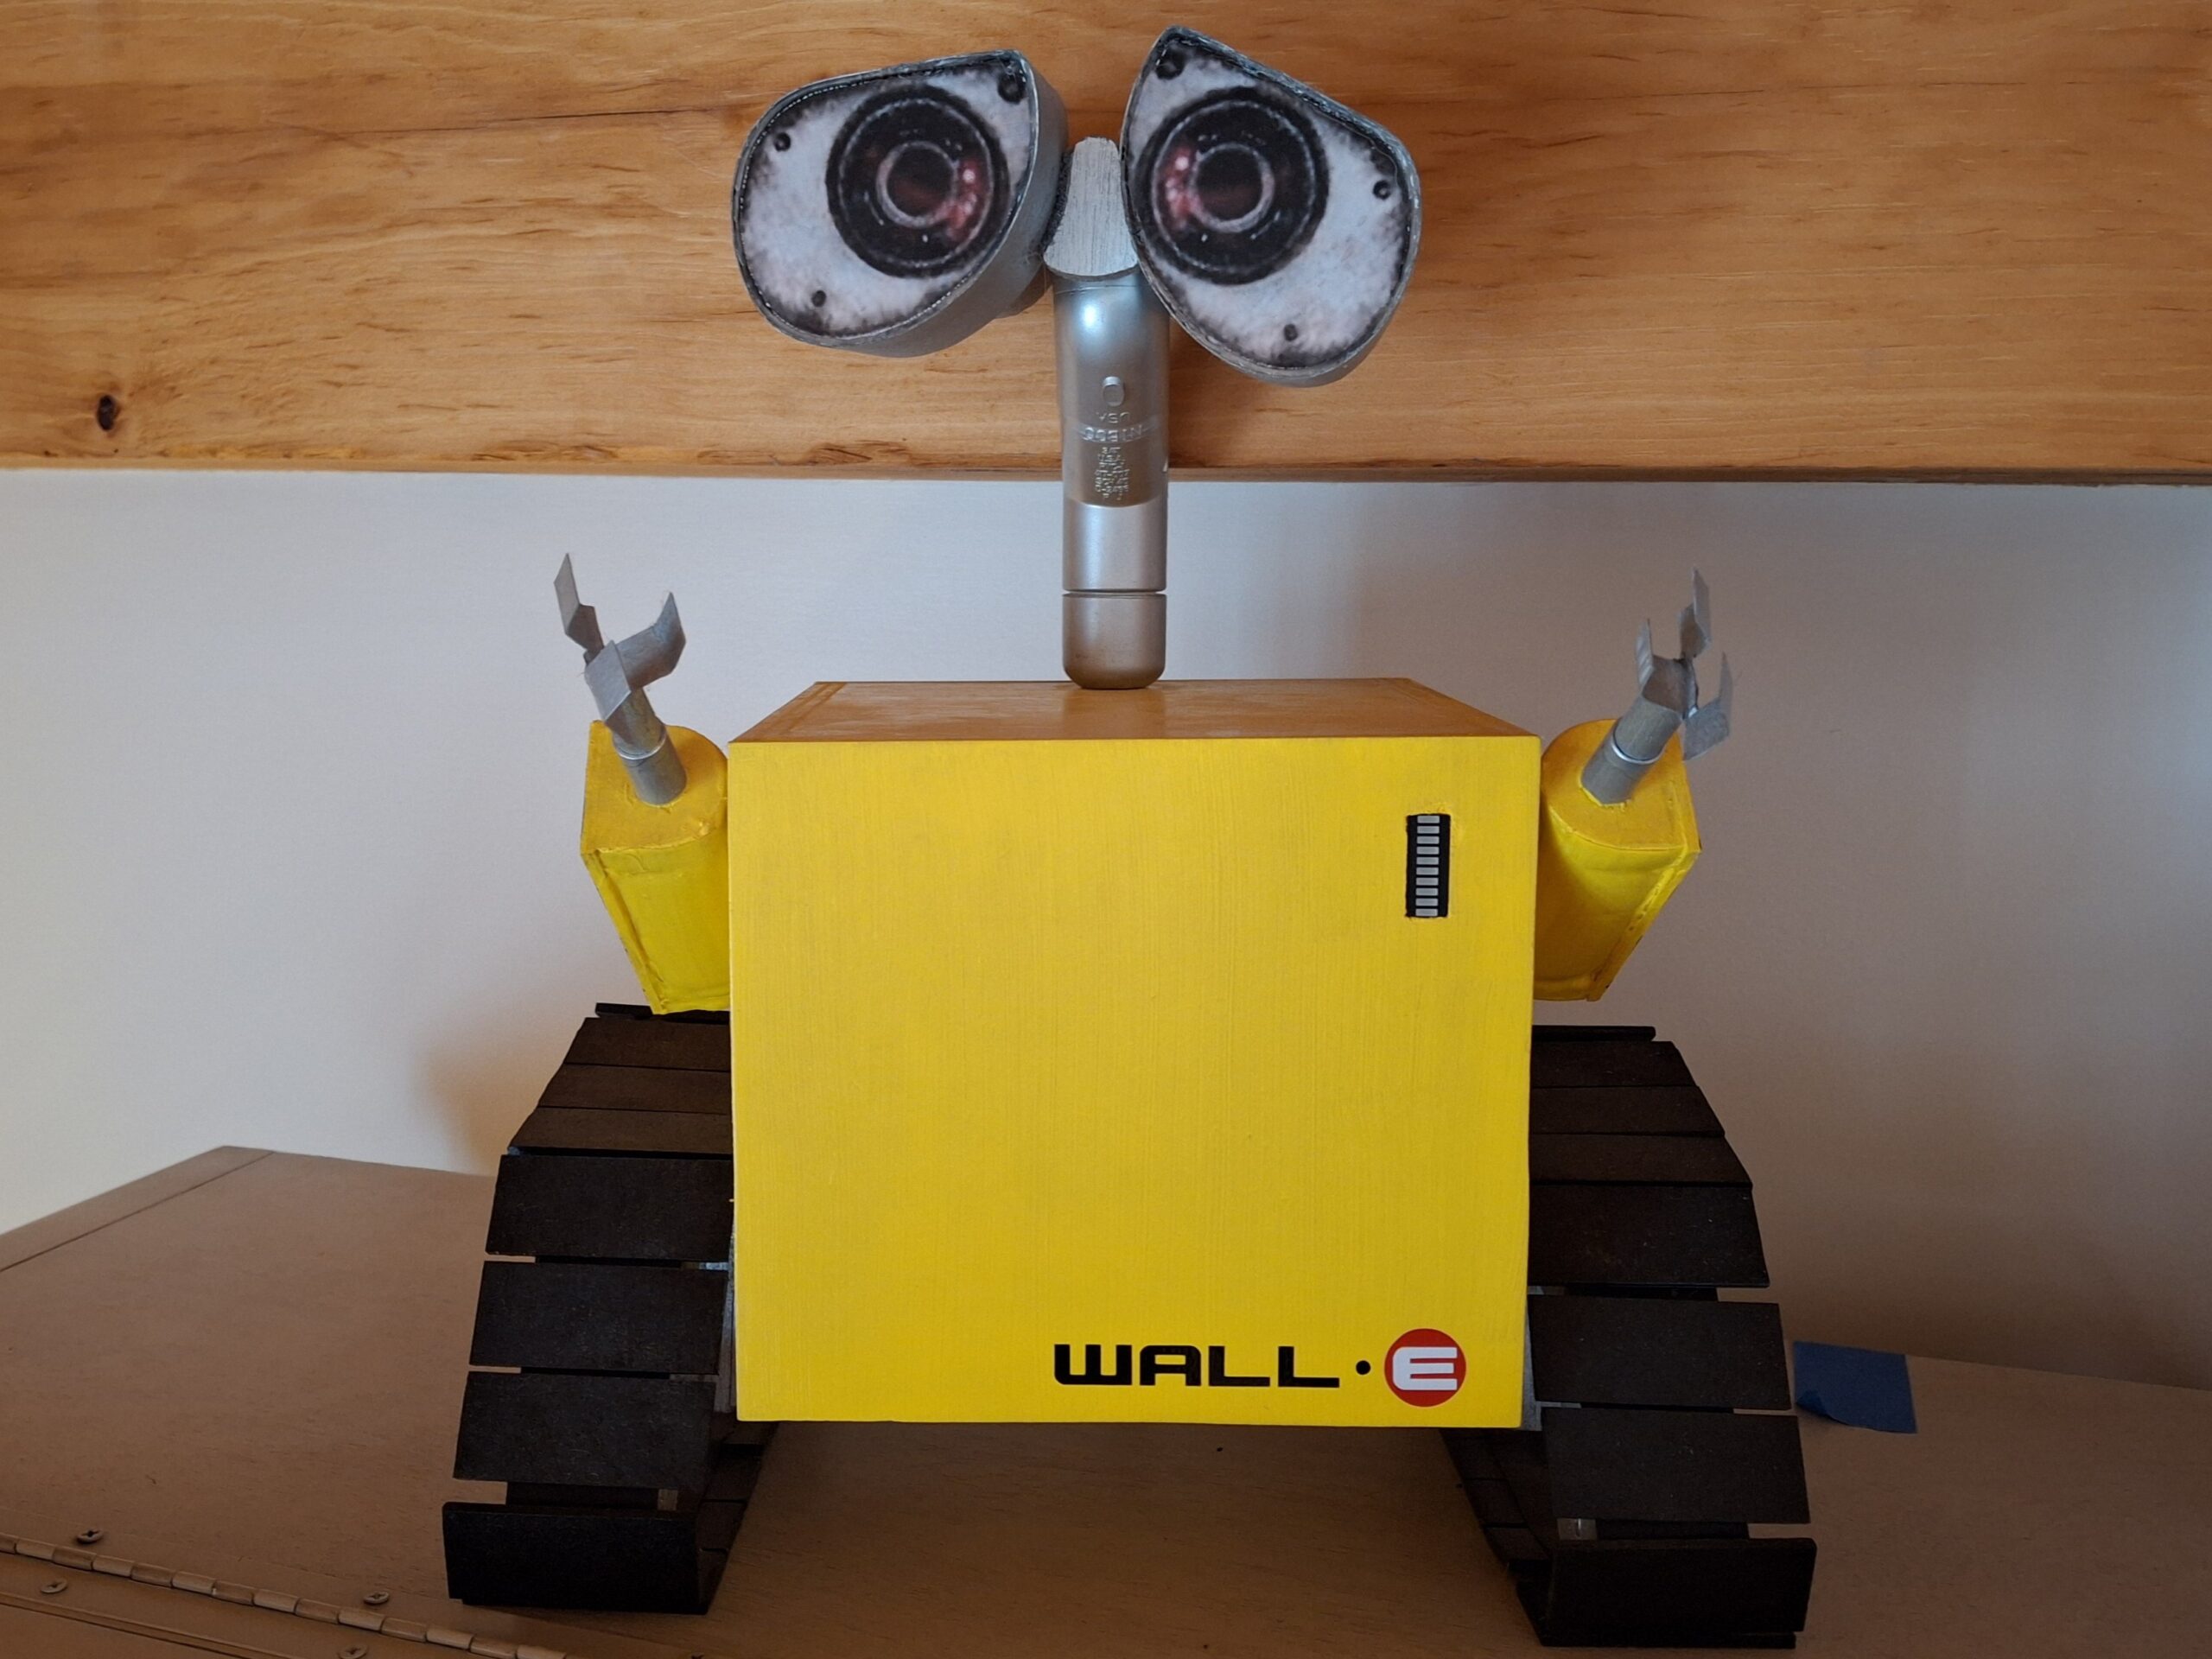
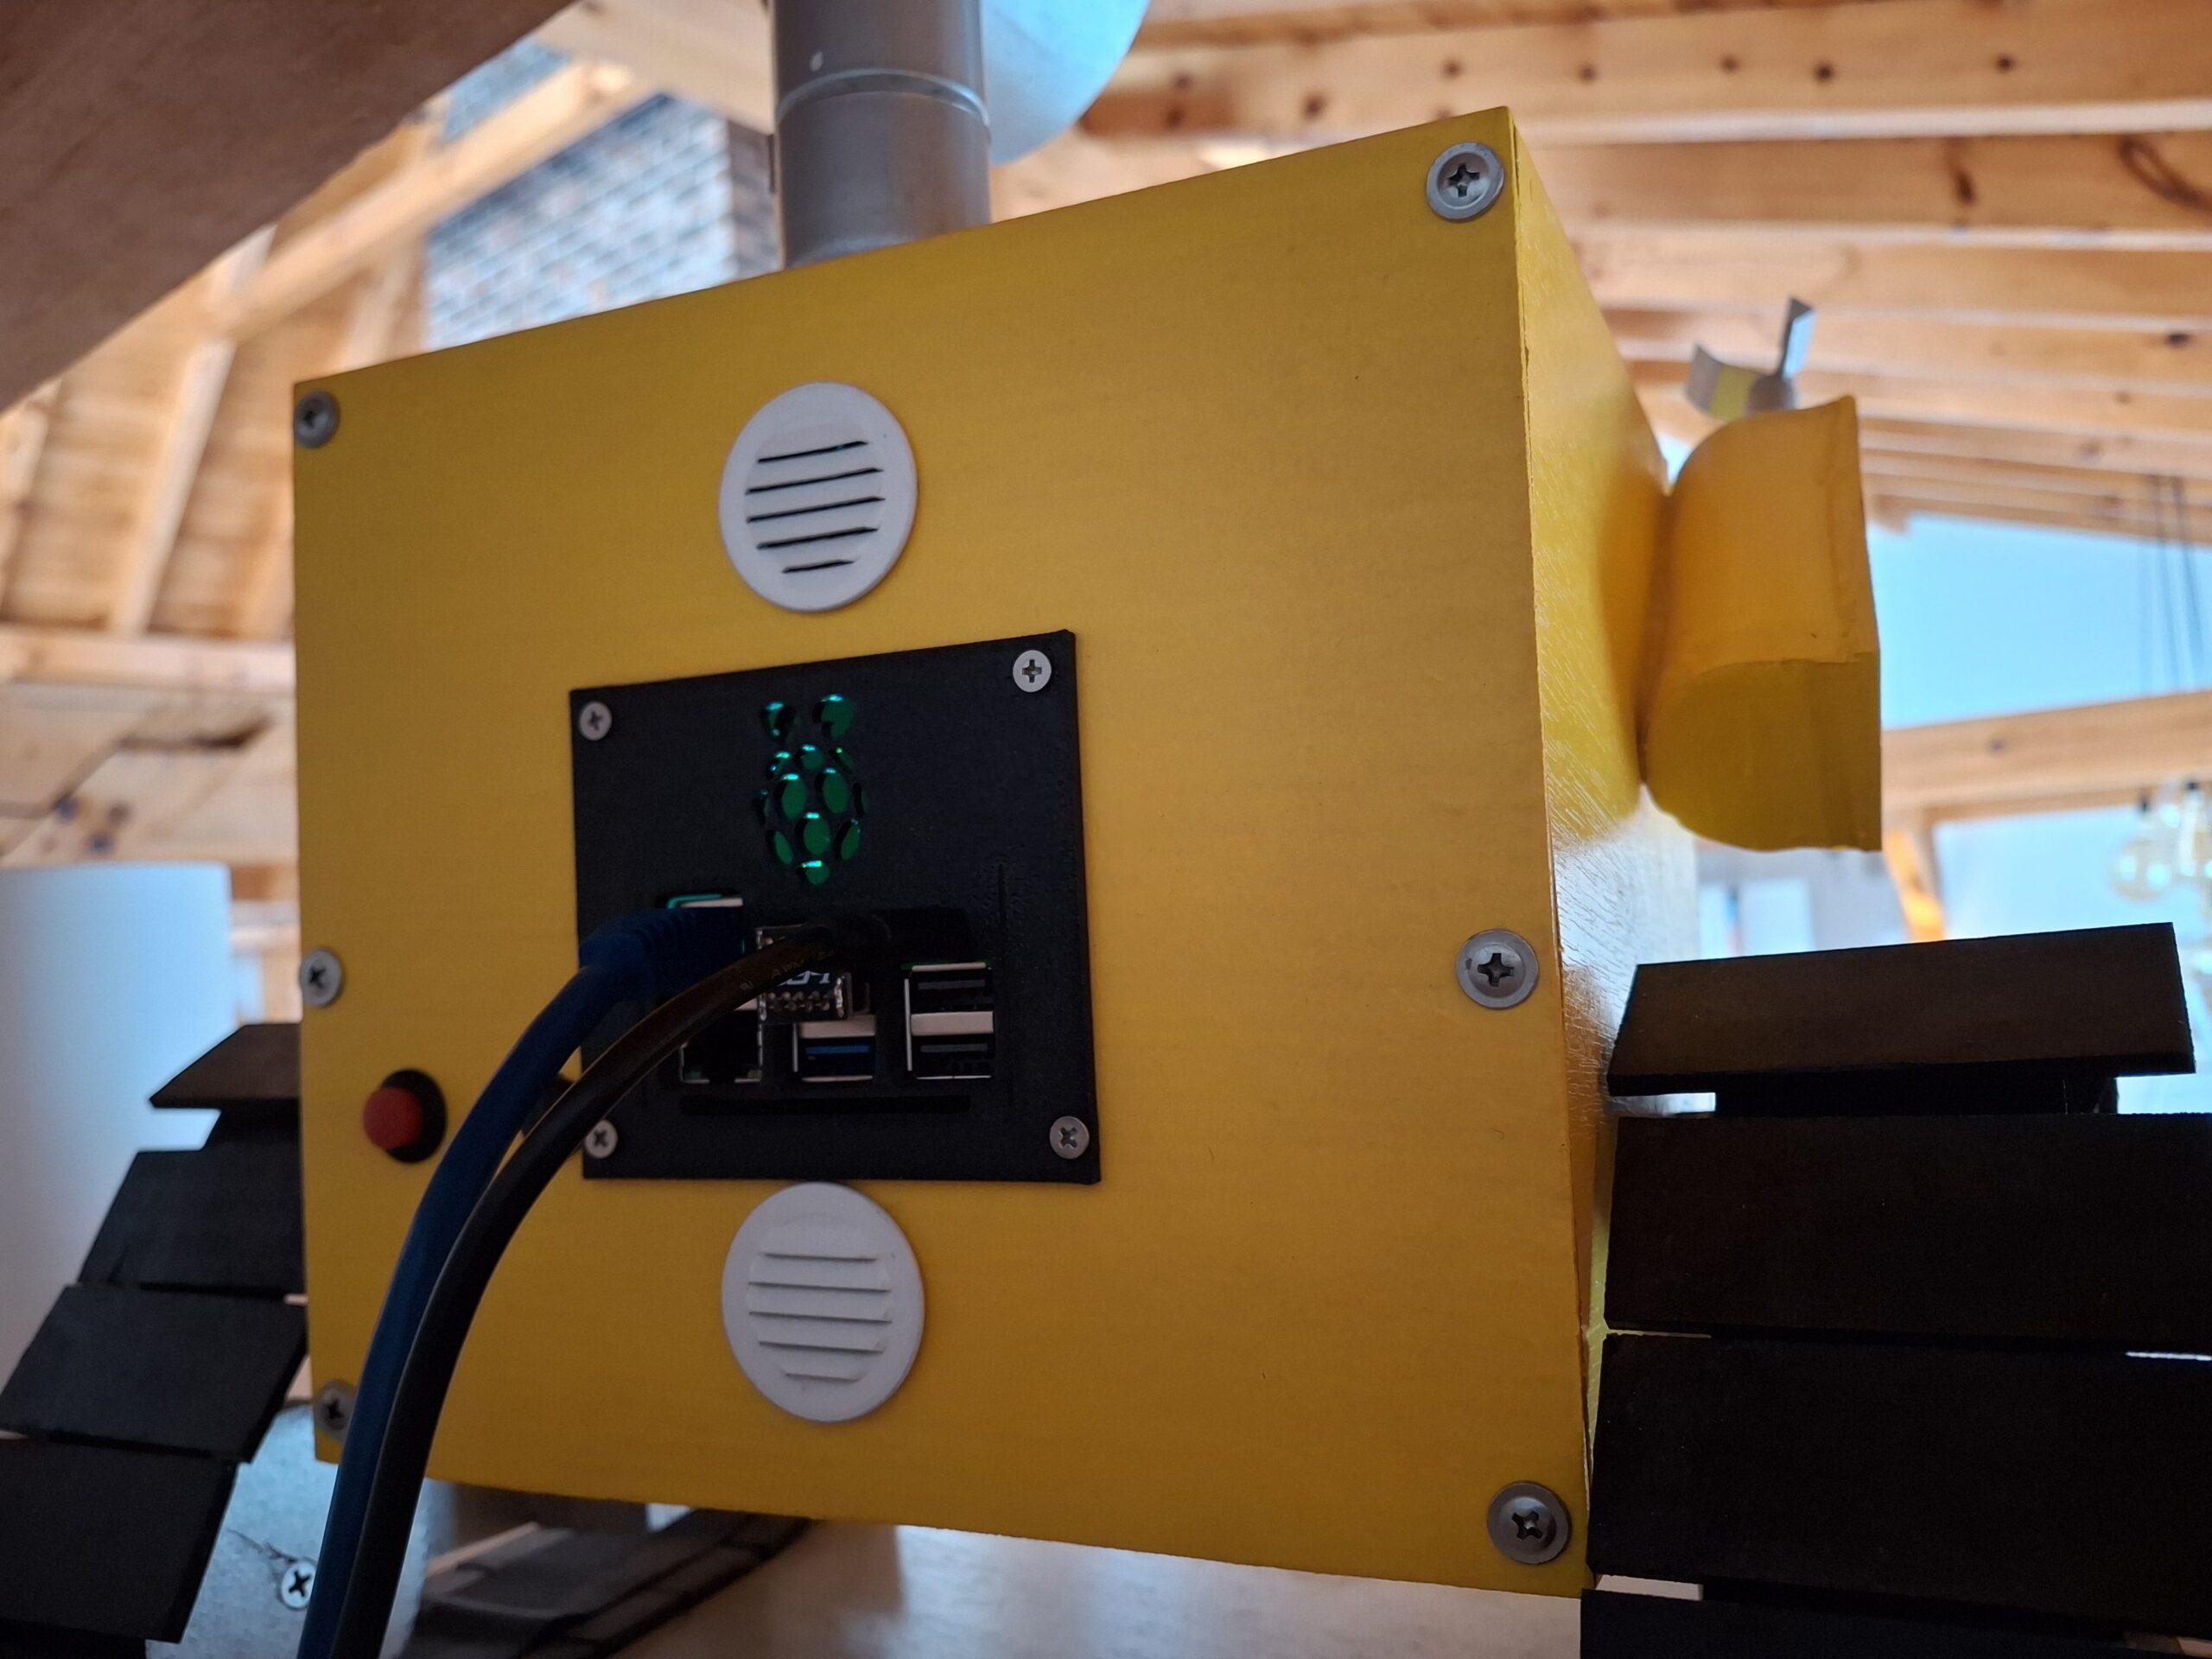
And now the fun part begins. Tuning all the software to efficiently use the 16GB of ram and operate flawlessly. Here’s a few pictures of the server and server case.
Enjoy and Be sure to check out some of my other projects or galleries.